

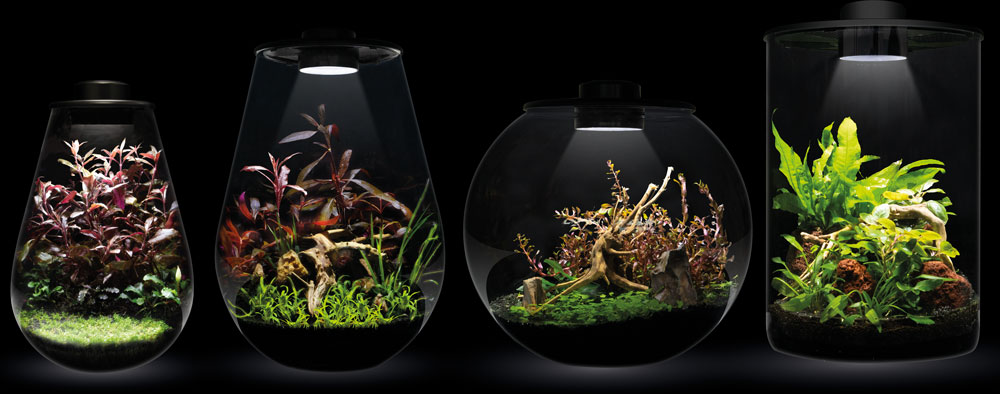
BioArt Bowl Cylinder Drop
User manual
| Drop 285 | Drop 345 | Bowl 225 | Cylinder 285 |
|---|---|---|---|
| 285 x 200 mm (5,1L) | 345 x 250 mm (10L) | 225 x 220 mm (5,1L) | 285 x 150 mm (4L) |
| 5V-5W | 5V-7,5W | 5V-5W | 5V-5W |
Setting up your BioArt
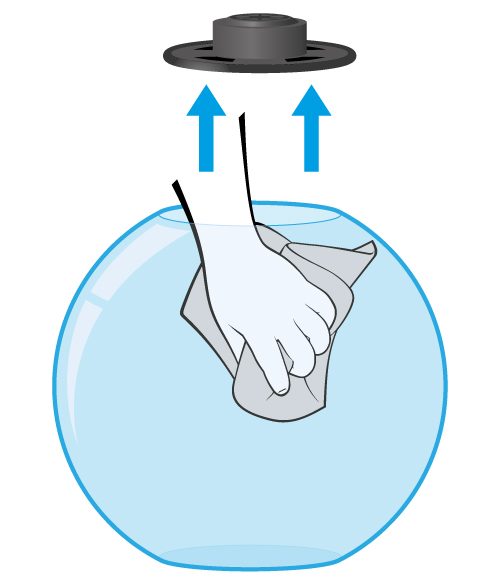
Clean the BioArt thoroughly with clean tap water and rinse the BioArt completely clean. Never use cleaning products or alcohol and always use a clean microfibre cloth.
1
Setting up your BioArt
1
Clean the BioArt thoroughly with clean tap water and rinse the BioArt completely clean. Never use cleaning products or alcohol and always use a clean microfibre cloth.
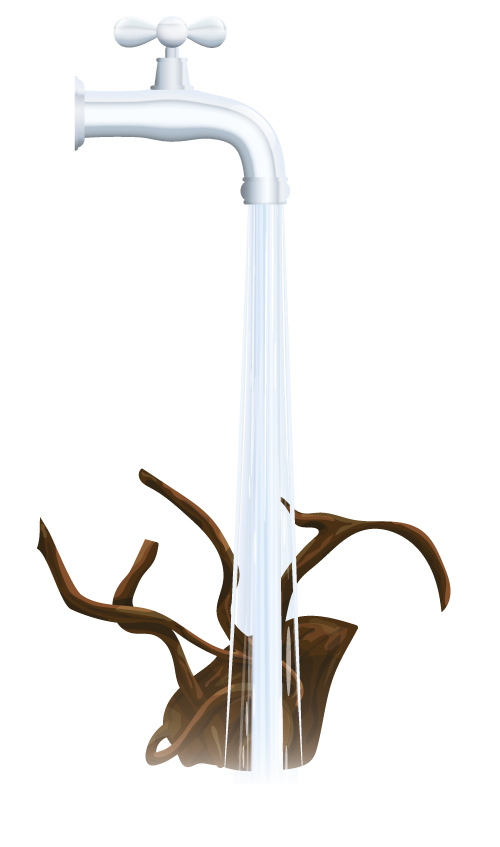
Rinse the wood, gravel, stones or Deco well with tap water before use. Never rinse Vulcanic soil!
2
2
Rinse the wood, gravel, stones or Deco well with tap water before use. Never rinse Vulcanic soil!
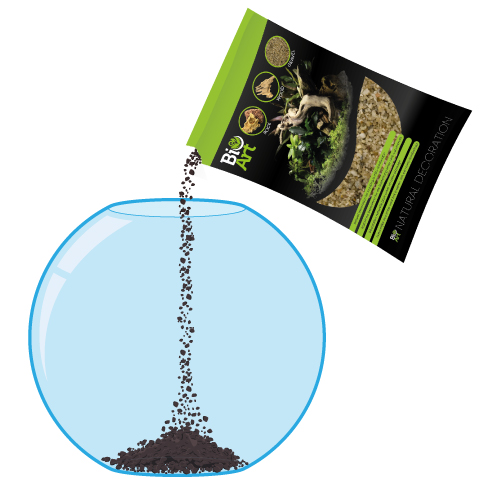
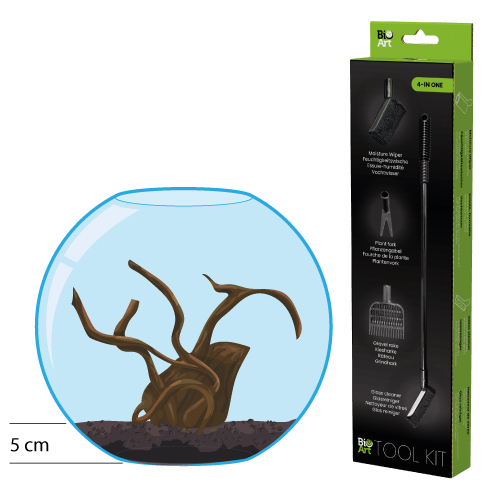
Fill the BioArt with Vulcanic soil or gravel (layer thickness approx. 5 cm). We recommend BioArt Vulcanic soil.
3
3
Fill the BioArt with Vulcanic soil or gravel (layer thickness approx. 5 cm). We recommend BioArt Vulcanic soil.
Place your “Hard Scape” if desired, this can consist of stones, wood or deco’s.
Tip!
Use the BioArt Tool kit for easy maintenance.
4
4
Place your “Hard Scape” if desired, this can consist of stones, wood or deco’s.
Tip!
Use the BioArt Tool kit for easy maintenance.
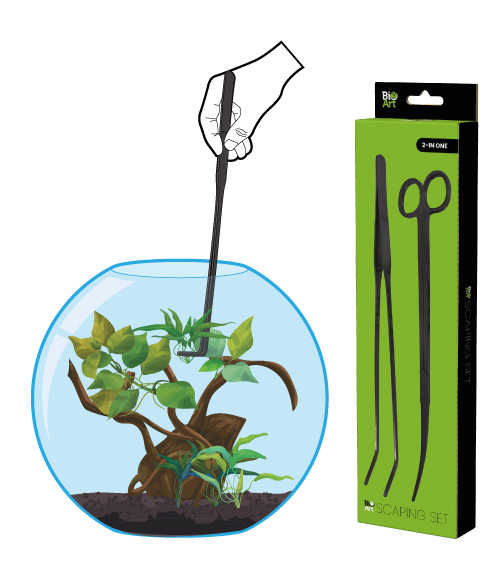
Place your plants in the BioArt using tweezers.
Tip!
Use the BioArt Scaping set
5
5
Place your plants in the BioArt using tweezers.
Tip!
Use the BioArt Scaping set
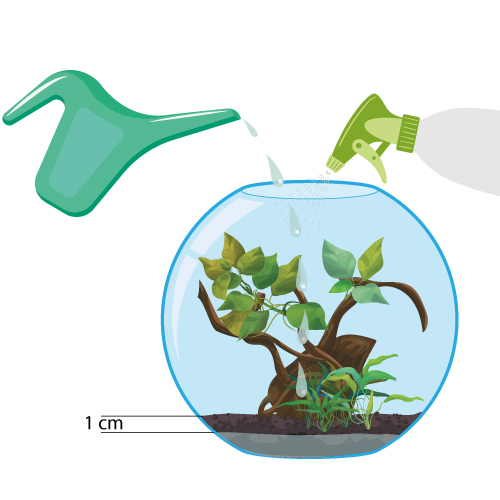
Add water until it is 1 cm below the substrate, depending on the type of plant. The amount of spraying, lighting, and ventilation all depend on the type of plant.
6
6
Add water until it is 1 cm below the substrate, depending on the type of plant. The amount of spraying, lighting, and ventilation all depend on the type of plant.
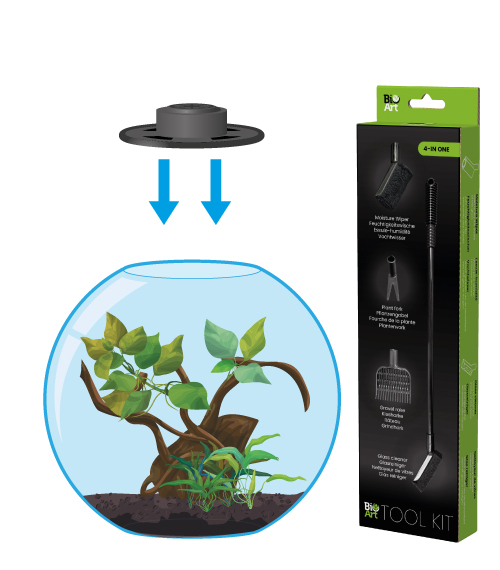
Dry the glass with the BioArt Tool kit to avoid scale deposit. Fit the lid with the LED lamp.
7
7
Dry the glass with the BioArt Tool kit to avoid scale deposit. Fit the lid with the LED lamp.
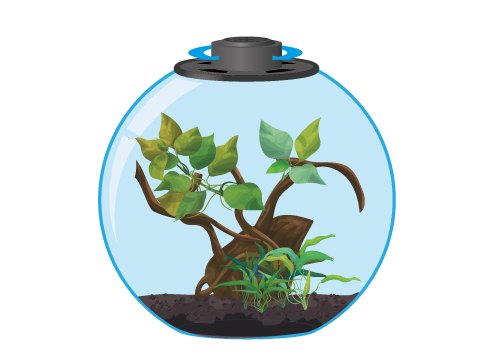
Adjust the grid in the lid to set the humidity depending on the plants used.
8
8
Adjust the grid in the lid to set the humidity depending on the plants used.
Controller
A
Dimmer
The LED can be dimmed in 10 steps
B
Switch between LED’s
C
Timer
D
On/Off
E
The LED fan starts automatically at higher brightness levels.
9
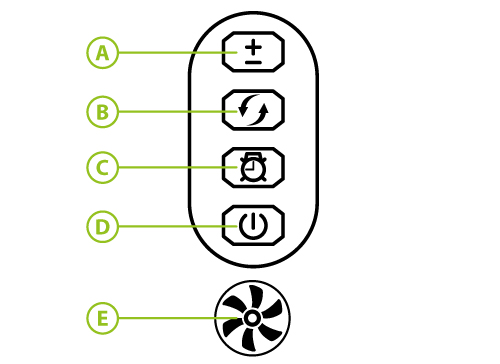
Controller
9
A
Dimmer
The LED can be dimmed in 10 steps
B
Switch between LED’s
C
Timer
D
On/Off
E
The LED fan starts automatically at higher brightness levels.
Timer Settings
The timer turns the lighting on and off daily at the same time according to the selected duration:
- Press once: 3 hours on.
- Press twice: 9 hours on.
- Press three times: 12 hours on.
The set period starts immediately and repeats automatically every day.
Example: Set time at 6:00 PM with 3 hours (press once). The lighting turns on at 6:00 PM, off at 9:00 PM, and repeats the next day.