


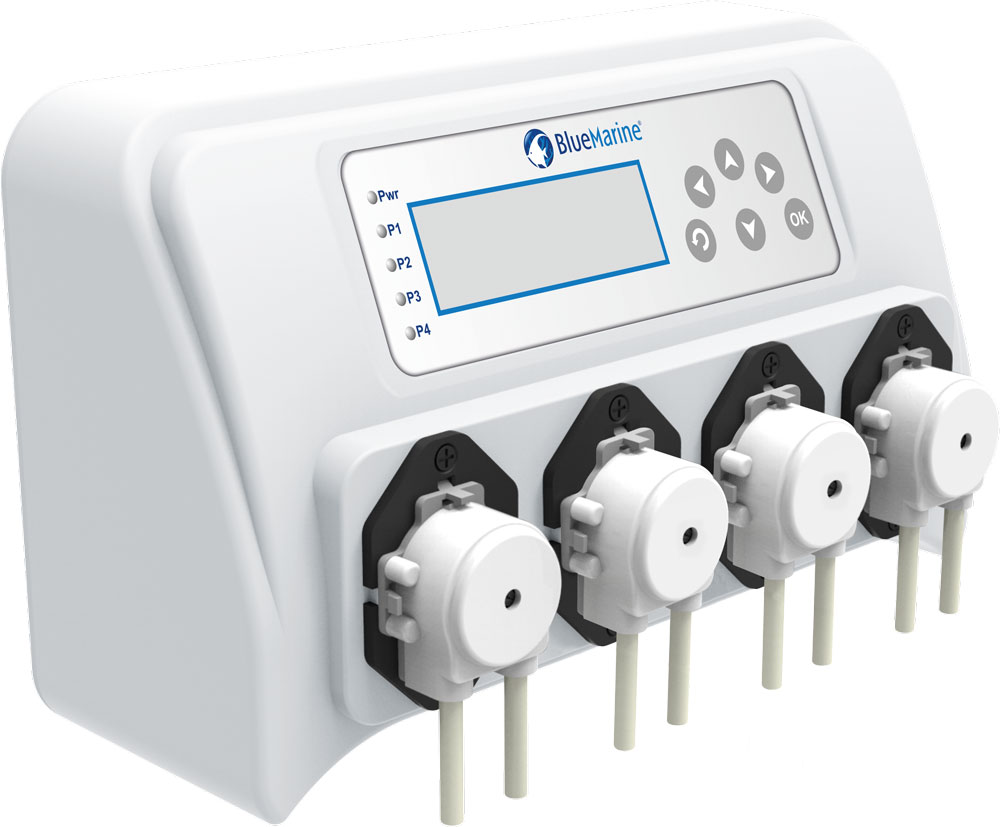
Dosing Pump
User manual
Installation
Unpack Dosing pump. Instal in a dry position make sure the dosing pump does not get wet or can fall into the aquarium (damage by water is not covered by warranty).
Connect the adapter to the dosing pump and plug into power socket.
!
Important
- Never lubricate the pump!
- It is recommended to calibrate the dosing pump regularly for exact dosage, depending on your usage, this calibration frequency may be needed weekly or monthly.
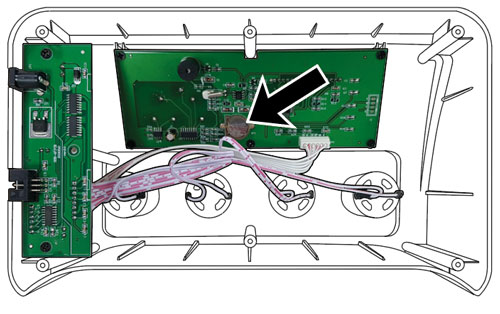
- The memory function of the dosing pump is powered by an CR1220 button battery, if this unit has been stored long in the store the battery might need to be replaced. We advise to change the battery yearly to ensure correct memory function.
1
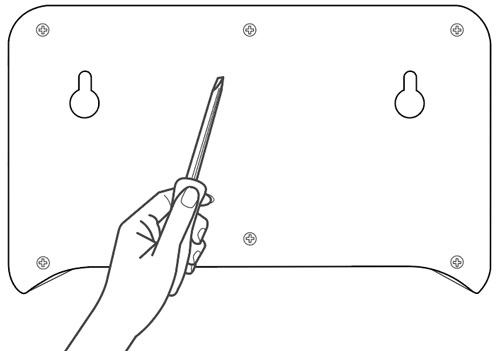
Loosen the screws on the back of the dosing pump.
1
1
1
Loosen the screws on the back of the dosing pump.
2
Remove the back cover and replace the battery. Tighten the back cover again.
2
2
2
Remove the back cover and replace the battery. Tighten the back cover again.
Usage
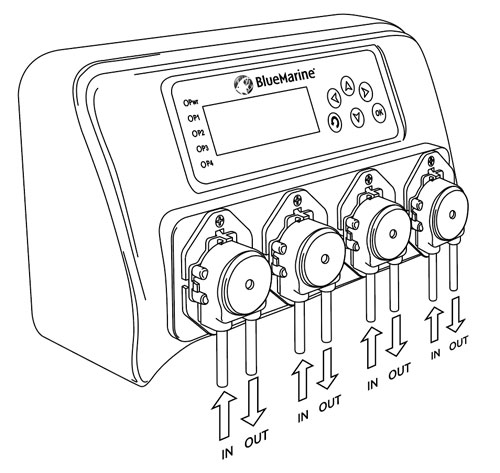
Usage
1
Set date and time
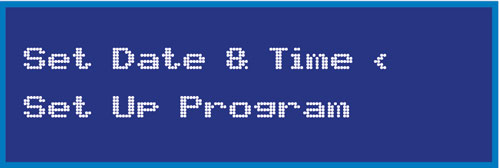
Press “OK” to go to the date and time settings.
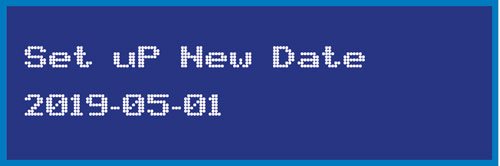
Press “OK” to start the date setting
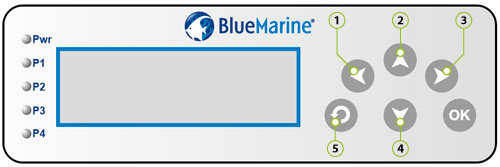
Press “1” and “3” to switch between year/month/day
Press“2” and “4” to adjust year/month/day
Press “OK” to save the date and go to the time setting.
Press “OK” to start the date setting
Press “1” and “3” to switch between year/month/day
Press“2” and “4” to adjust year/month/day
Press “OK” to save the date and go to the time setting.
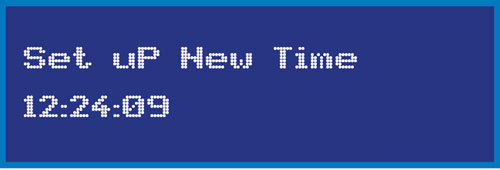
Press “1” and “3” to select hour/minute/second.
Press “2” and “4” to set hour/minute/second.
Press “OK” to save the time and return to the main menu.
Press “1” and “3” to select hour/minute/second.
Press “2” and “4” to set hour/minute/second.
Press “OK” to save the time and return to the main menu.
2
Manual dosing
Press “1” and “3” to go to the “manual dosing” setting.
Press and “4” to select the pump.
Press “OK” to start manual dosing.
Press “5” to return to the main menu.

2
Manual dosing
Press “1” and “3” to go to the “manual dosing” setting.
Press and “4” to select the pump.
Press “OK” to start manual dosing.
Press “5” to return to the main menu.
3
Calibration
Before programming, it is essential to calibrate the dosing pump for each pump head you want to use. For this you need a measuring cup of at least 100 ml and distilled water.
Press “2” in the main menu to go to the “calibration setting”.

3
Calibration
Before programming, it is essential to calibrate the dosing pump for each pump head you want to use. For this you need a measuring cup of at least 100 ml and distilled water.
Press “2” in the main menu to go to the “calibration setting”.
Press “1” and “3” to select the pump.
Press “OK” to enter the calibration setting of the selected pump.

Press “1” and “3” to select the pump.
Press “OK” to enter the calibration setting of the selected pump.
Ensure the inlet tube of the pump you want to calibrate is submerged in water. Place the measuring cup so that all water from the outlet tube of the pump being calibrated is collected.
Press “2” to start the pump. Once 100 ml has been collected in the measuring cup, press again to stop the pump.
Press “OK” to save and return to the calibration menu.
Repeat the above steps for each pump head.
!
Important:
Ensure there is no air left in the tube before calibrating by first running the pump manually (point 2).
Press “5” to return to the main menu.
4
Set automatic dosing
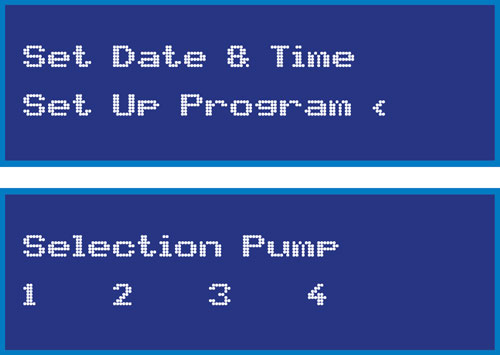
Press “OK” to enter the settings. Press “4” to go to the “program” setting and press “OK” to enter the pump program. Press “1” and “3” to select the pump to be programmed. Press “OK” to go to the “daily dosing” settings.
4
Set automatic dosing
Press “OK” to enter the settings. Press “4” to go to the “program” setting and press “OK” to enter the pump program. Press “1” and “3” to select the pump to be programmed. Press “OK” to go to the “daily dosing” settings.
4.1
Set daily dosing
Press “2” and “4” to set the number of doses per day from 1 to 24.
Press “OK” to save and go to the “interval days setting.”

4.1
Set daily dosing
Press “2” and “4” to set the number of doses per day from 1 to 24.
Press “OK” to save and go to the “interval days setting.”
4.2
Set interval days
Press “2” and “4” to set the interval days – this determines the number of days between dosing. It can be set in the range 0–30.
0 = dosing every day, 1 = dosing every other day, etc. Press “OK” to save and go to the “dosing volume setting.”

4.2
Set interval days
Press “2” and “4” to set the interval days – this determines the number of days between dosing. It can be set in the range 0–30.
0 = dosing every day, 1 = dosing every other day, etc. Press “OK” to save and go to the “dosing volume setting.”
4.3
Set dosing volume
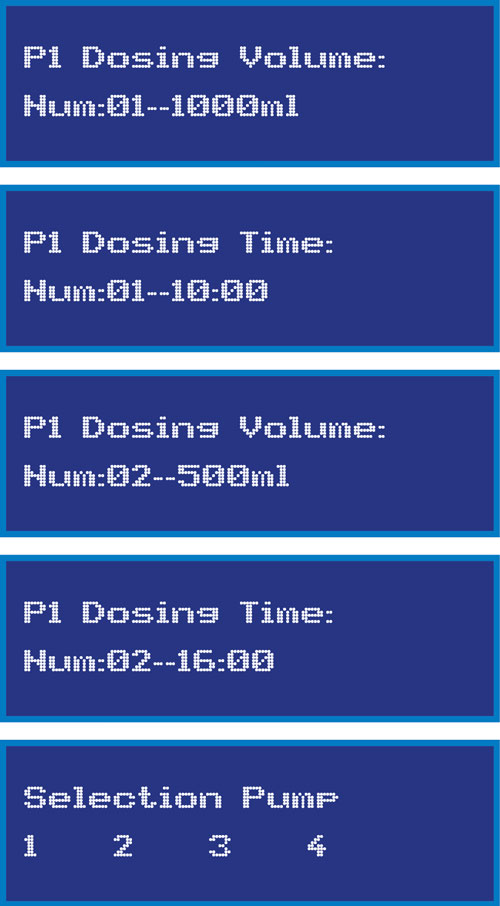
Press “1” and “3” to set the dosing volume for the first dose.
Press “OK” to save and go to the first dosing start time setting.
Press “2” and “4” to set the first dosing start time.
Press “OK” to save and go to the second dosing volume setting.
Press “2” and “4” to set the dosing volume for the second dose.
Press “OK” to save and go to the second dosing start time setting.
Press “2” and “4” to set the second dosing start time.
Depending on the number of doses set per day, you must set the volume and time for each dose.
Press “OK” after the last daily setting to save and return to the pump selection menu. Select the next pump and repeat the steps above.
4.3
Set dosing volume
Press “1” and “3” to set the dosing volume for the first dose.
Press “OK” to save and go to the first dosing start time setting.
Press “2” and “4” to set the first dosing start time.
Press “OK” to save and go to the second dosing volume setting.
Press “2” and “4” to set the dosing volume for the second dose.
Press “OK” to save and go to the second dosing start time setting.
Press “2” and “4” to set the second dosing start time.
Depending on the number of doses set per day, you must set the volume and time for each dose.
Press “OK” after the last daily setting to save and return to the pump selection menu. Select the next pump and repeat the steps above.
5
Set liquid volume in the reservoir
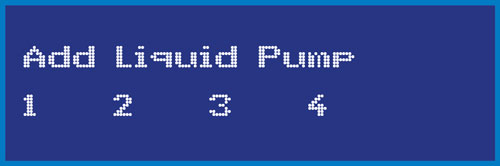
Press “4” to set the liquid volume in the reservoir.
Press “1” and “3” to select the pump and press .
5
Set liquid volume in the reservoir
Press “4” to set the liquid volume in the reservoir.
Press “1” and “3” to select the pump and press .
If 100 ml remains in the reservoir and you add 400 ml, the total amount becomes 500 ml.
Therefore you must enter the total volume (500 ml) in the reservoir. Press “OK” to save. Press “OK” again to check. “P1 remain” should now display 500 ml.
Repeat these steps for all pumps.
If the reservoir becomes nearly empty during dosing, the warning indicator of the corresponding pump on the control panel will start flashing.
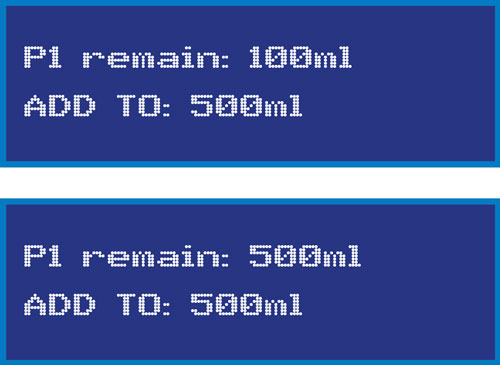
If 100 ml remains in the reservoir and you add 400 ml, the total amount becomes 500 ml.
Therefore you must enter the total volume (500 ml) in the reservoir. Press “OK” to save. Press “OK” again to check. “P1 remain” should now display 500 ml.
Repeat these steps for all pumps.
If the reservoir becomes nearly empty during dosing, the warning indicator of the corresponding pump on the control panel will start flashing.
Technical details
| Maximum Flow | 70 L/h x 4 |
| Maximum pump height | 150 cm |
| Room temperature | 0 - 50˚C |
| Size | 250 x 155 x 110 mm (L x W x H) |
| Power | 11 Watt |
| Adaptor input | 100-240V 50/60 Hz |
| Adaptor output | DC 12V 1A |