


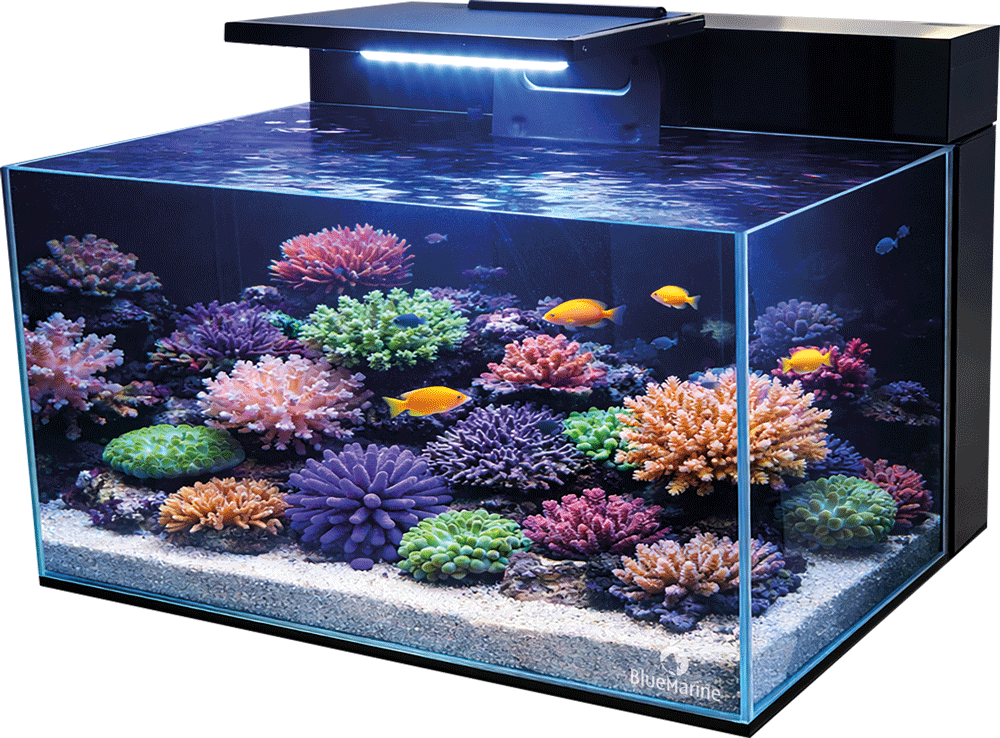
Reef Coral Garden 55
User Manual
Parts
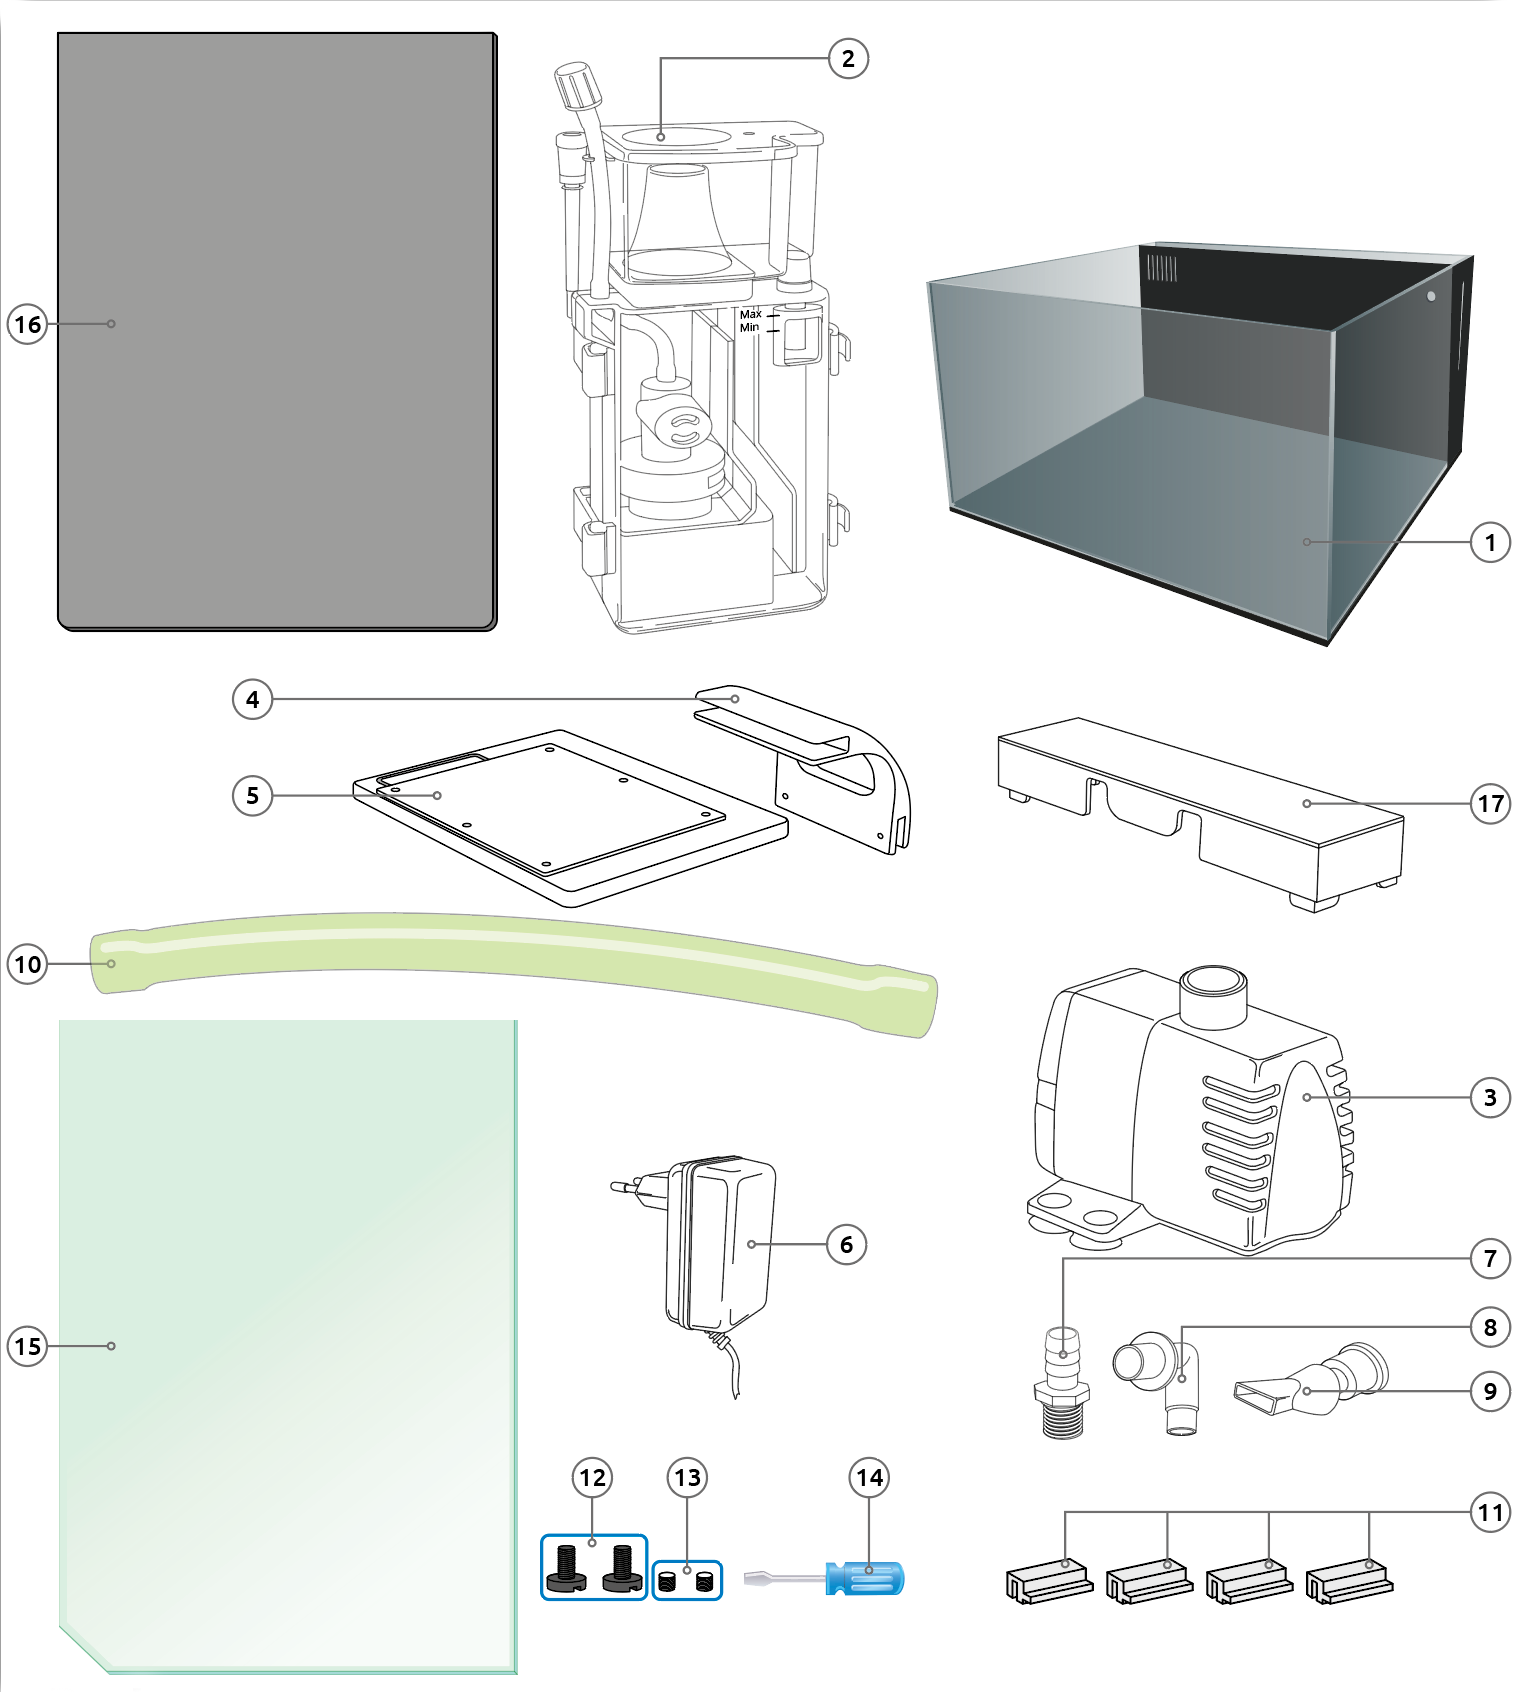
- Tank
- Skimmer (BM Internal Skimmer 120)
- Pump (BM ReefPower 600)
- Lighting fixture
- Lighting
- Adapter lighting
- Pump hose connector
- Nozzle coupling
- Nozzle
- Pump hose
- Glass cover brackets
- Mounting screws of lighting fixture
- Mounting screws of lighting
- Screwdriver
- Glass cover
- Bottom protector
- Sump cover
Step 1
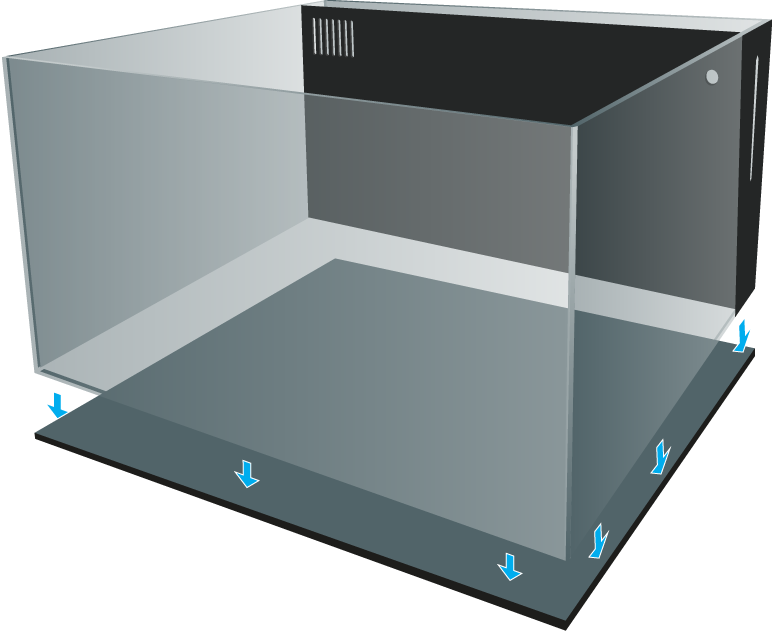
Place the tank (1) on the Bottom protector (16).
Place aquarium on a smooth, horizontal surface with an adequate load-bearing capacity.
Do not place the aquarium on electrical appliances or on furniture with surfaces which are liable to staining by water.
Please note. The total weights of the set up: aquaria completely with water and additives (depending on type of decoration) may be up to 120 kg
Step 1
Place the tank (1) on the Bottom protector (16).
Place aquarium on a smooth, horizontal surface with an adequate load-bearing capacity.
Do not place the aquarium on electrical appliances or on furniture with surfaces which are liable to staining by water.
Please note. The total weights of the set up: aquaria completely with water and additives (depending on type of decoration) may be up to 120 kg
Step 2
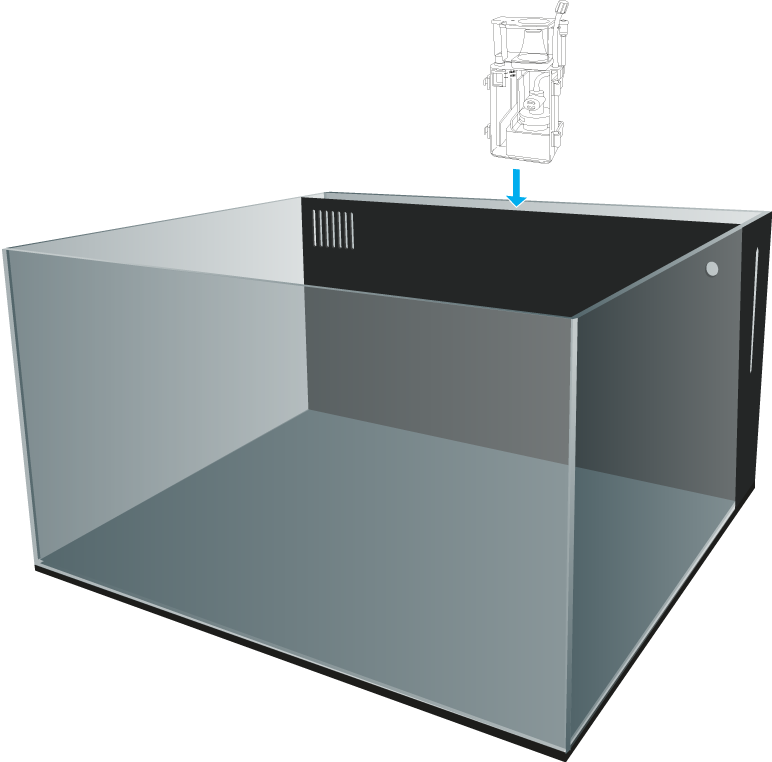
Place the skimmer (2) in the middle section of the internal sump.
Before using the BM Internal Skimmer 120, read the skimmer manual.
Step 2
Place the skimmer (2) in the middle section of the internal sump.
Before using the BM Internal Skimmer 120, read the skimmer manual.
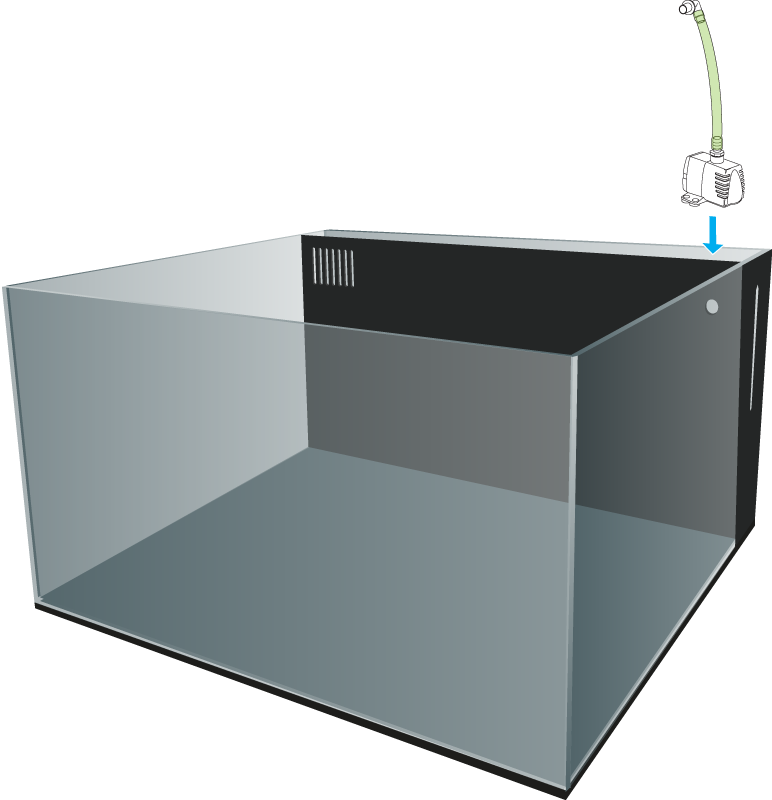
Step 4
Insert the nozzle coupling (8) from the inside through the appropriate opening and then install the nozzle (9).
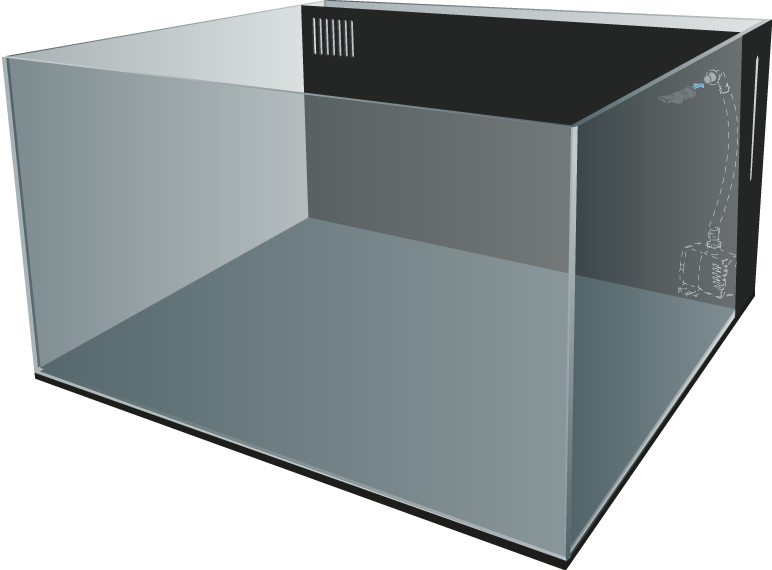
Step 4
Insert the nozzle coupling (8) from the inside through the appropriate opening and then install the nozzle (9).
Step 5
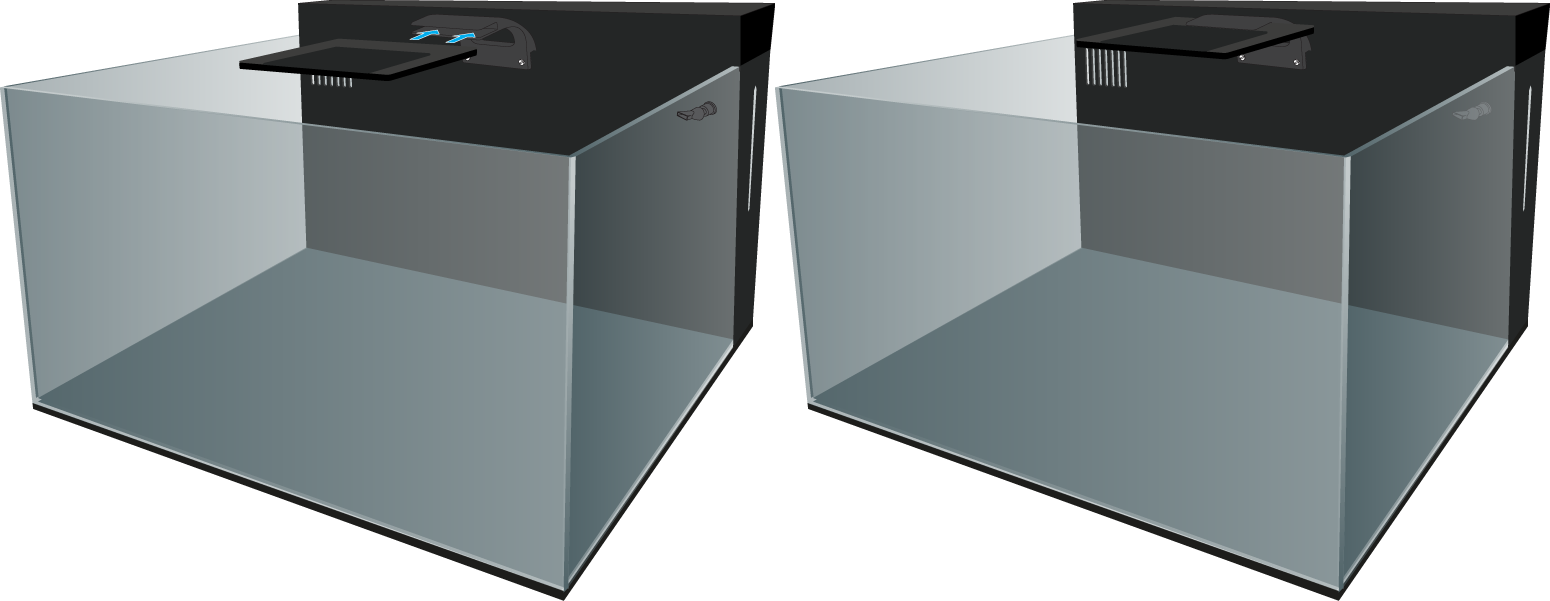
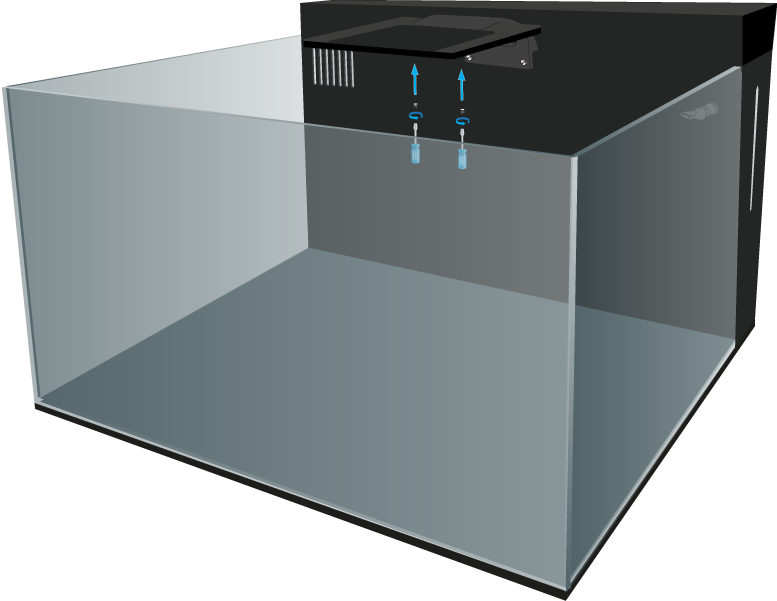
Place the lighting fixture (4) on the edge of the sump and hand tighten the mounting screws for the fixture (12) so that it can be moved even when the sump cover is placed.
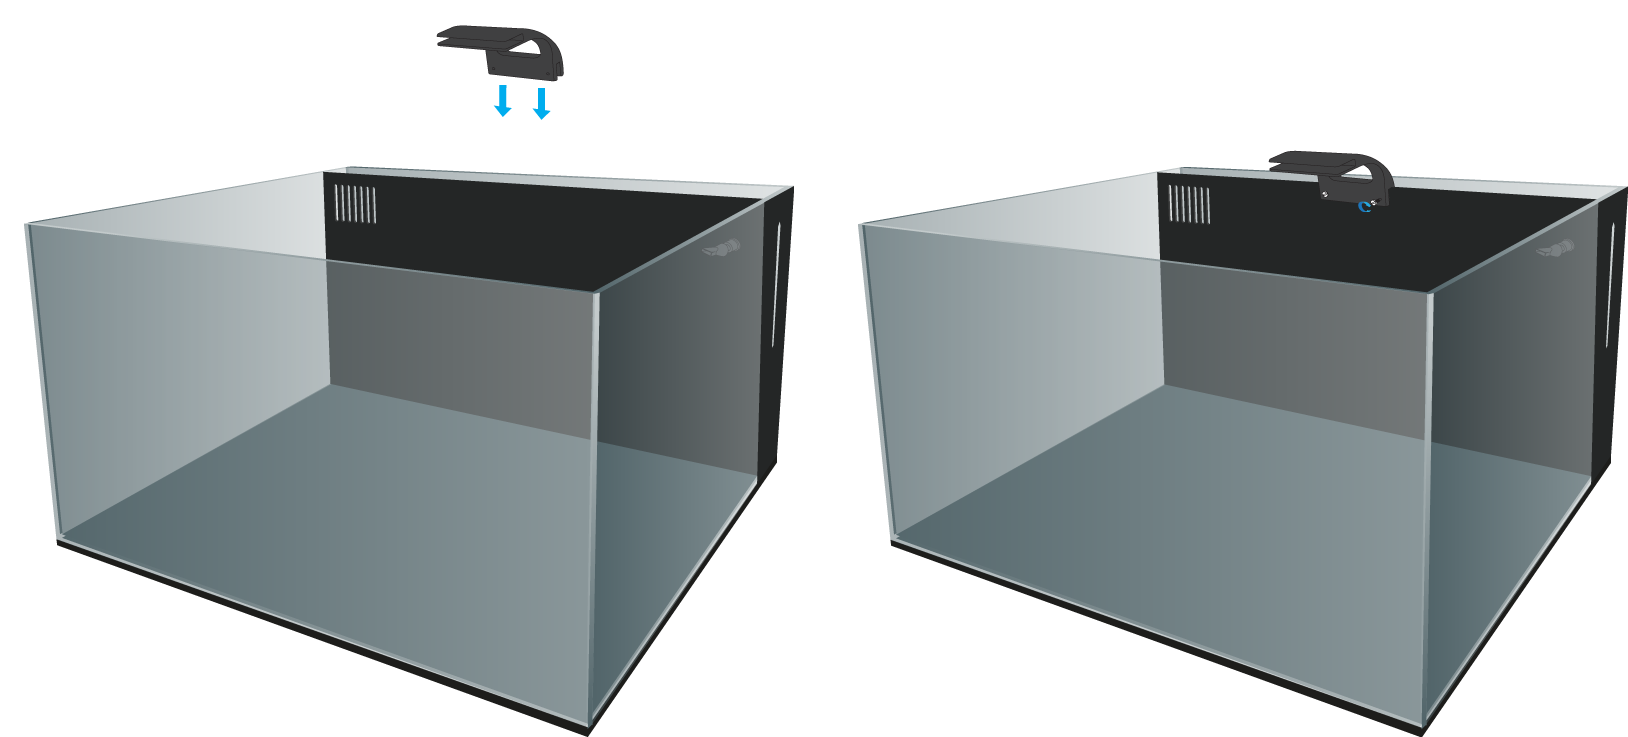
Step 5
Place the lighting fixture (4) on the edge of the sump and hand tighten the mounting screws for the fixture (12) so that it can be moved even when the sump cover is placed.
Step 6
Place the cover (17) on the sump. Adjust the position of the lighting fixture so it fits in the openings of the cover, then tighten the screws.
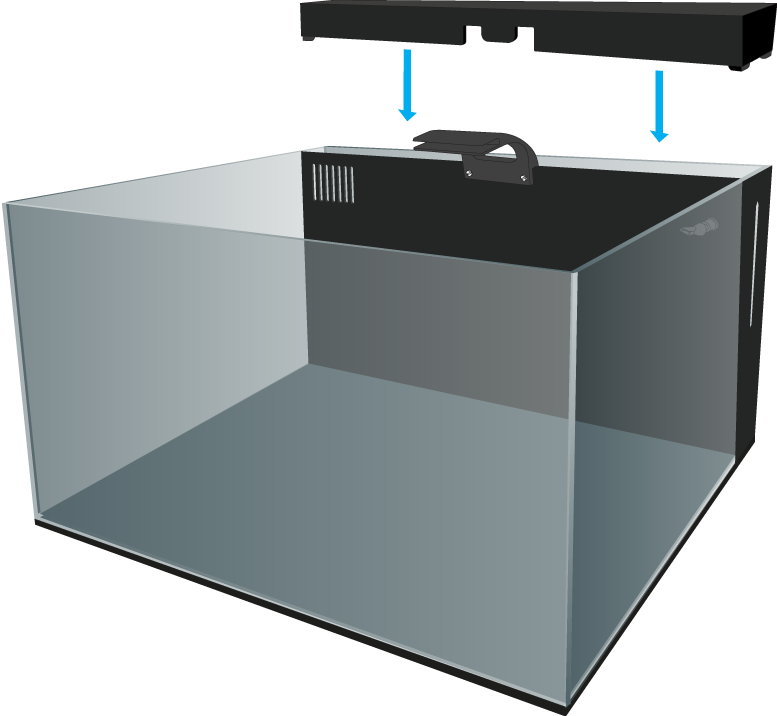
Step 6
Place the cover (17) on the sump. Adjust the position of the lighting fixture so it fits in the openings of the cover, then tighten the screws.
Step 9
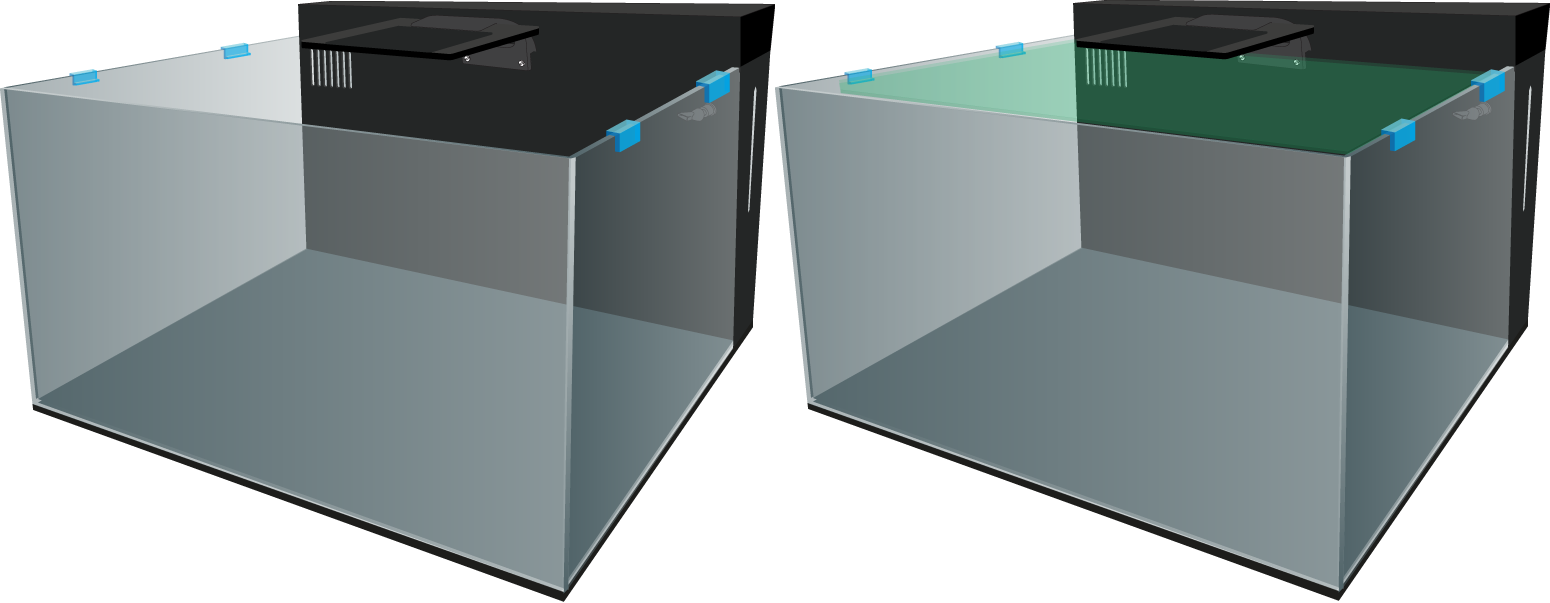
Place the breackets of the cover (11) on the edge of the aquarium and place the glass cover (15) on the brackets.
The Reef Coral Garden 55 is now ready for use.
Step 9
Place the breackets of the cover (11) on the edge of the aquarium and place the glass cover (15) on the brackets.
The Reef Coral Garden 55 is now ready for use.