


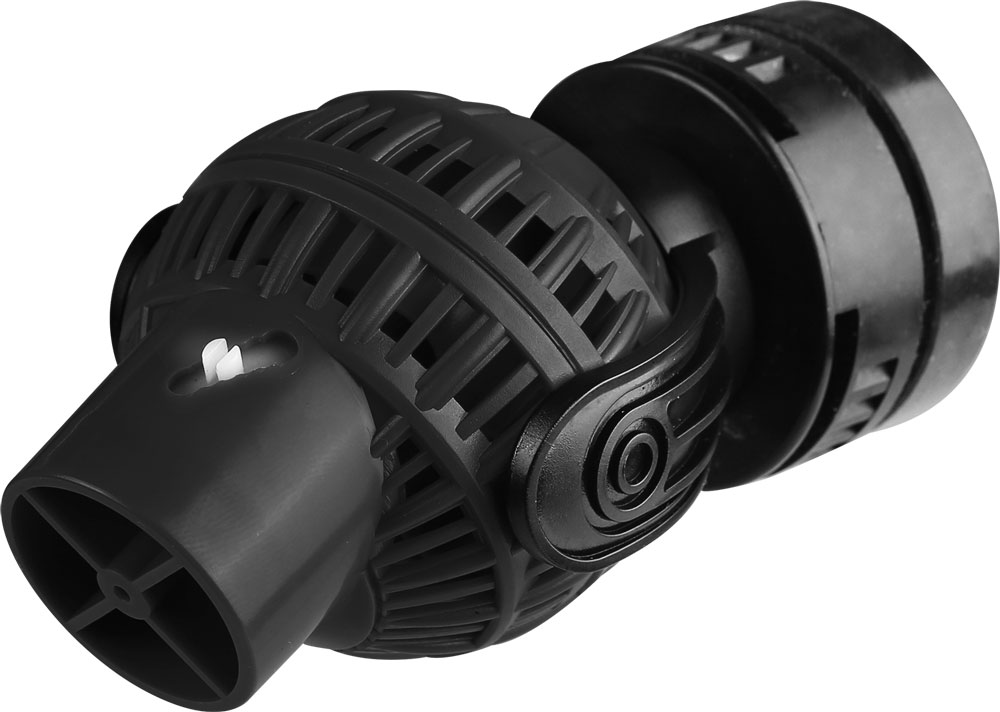
WaveMaker 2000-4000-6000
User manual
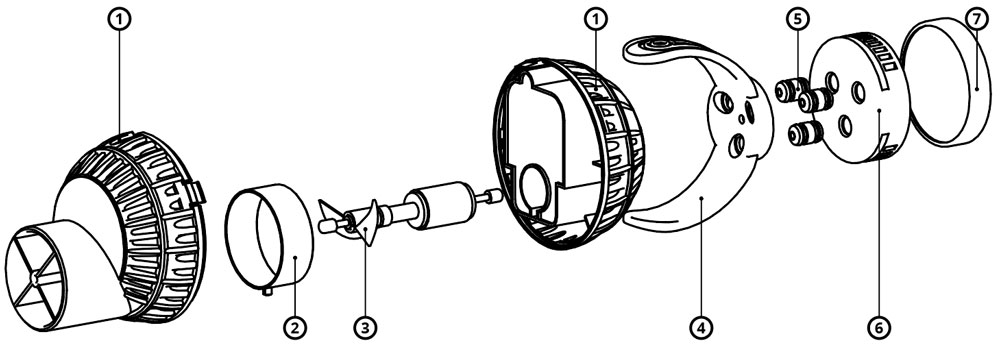
Parts
1
Housing
2
Flow control valve
3
Rotor
4
Support bracket
5
Foot mounts
6
Magnet mount 1
7
Magnet mount 2
Parts
1
Housing
2
Flow control valve
3
Rotor
4
Support bracket
5
Foot mounts
6
Magnet mount 1
7
Magnet mount 2
Installation
1
Rinse the pump and parts with clean tap water before installing.
2
Choose the desired position for the magnet mount.
3
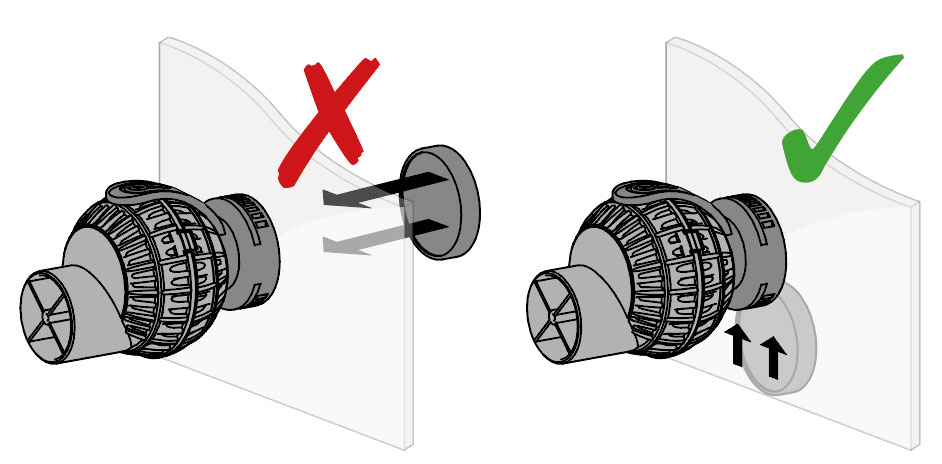
Separate the magnet mount by twisting units apart.
4
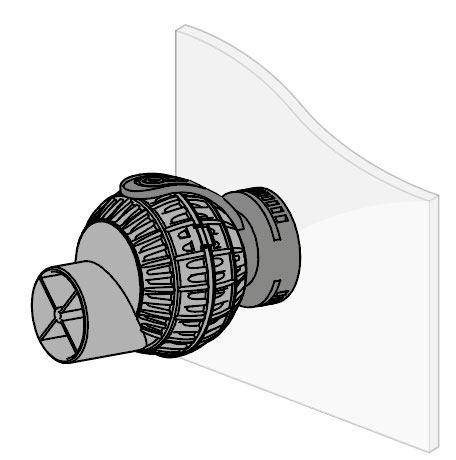
Place the magnet in the desired location in the aquarium (step 2).
5
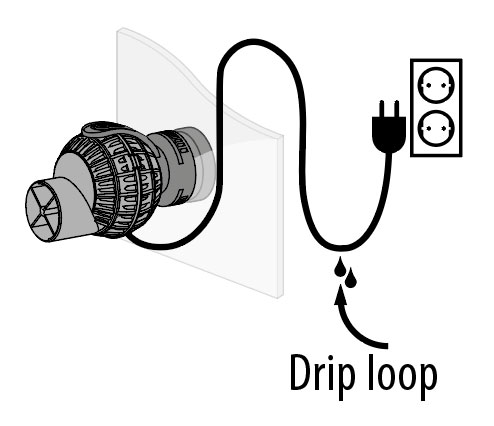
Now start the pump by plugging the cable, ensure cable drip loop (step 3).
6
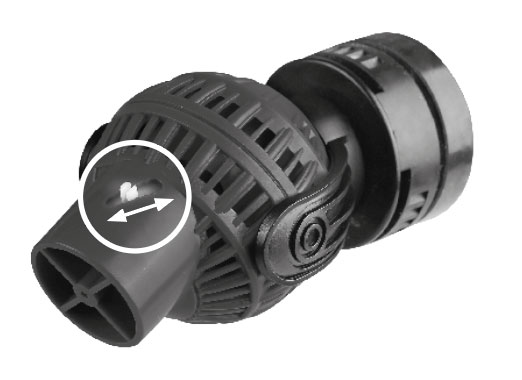
Adjust to the desired flow (step 4)
Cleaning and maintenance
1
Monthly cleaning is needed to ensure proper operation!
2
Disconnect pump from mains before any maintenance on the aquarium.
3
Slide the pump off the magnet mount& remove the main strainer house.
4
Open and remove rotor and stainless steel axel
5
Clean impeller and shaft with 50% vinegar and 50% water solution. Let them soak for a minimum of 15 minutes. Verify that the Prop impeller spins freely on the shaft. In some cases, it may take additional soaking to remove all calcium build-up.
6
Reassemble shaft and impeller verify that shaft caps are properly installed.
7
Reassemble pump and place back in aquarium.
8
The impellor is a wearing part that depending on usage will need changing yearly, this is considered normal maintenance and not covered under warranty. Replacement impellors are available at your dealer.
Technical data
| Model | WaveMaker 2000 | WaveMaker 4000 | WaveMaker 6000 | WaveMaker 10000 |
|---|---|---|---|---|
| Power | 4,5 Watt | 6 Watt | 8 Watt | 16 Watt |
| Flow | 3000 L/h | 4000 L/h | 6000 L/h | 10000 L/h |
| Size L x W x H | 94 x 55 x 50 mm | 66 x 61 x 114 mm | 77 x 70 x 126 mm | 98 x 91 x 144 mm |
| Aquarium Volume | 50 - 150 L | 66 - 200 L | 200 - 400 L | 400 - 600 L |
| Cable Length | 2,5 meter | 2,5 meter | 2,5 meter | 2,5 meter |
| Glass Thickness | 15 mm | 15 mm | 15 mm | 15 mm |