


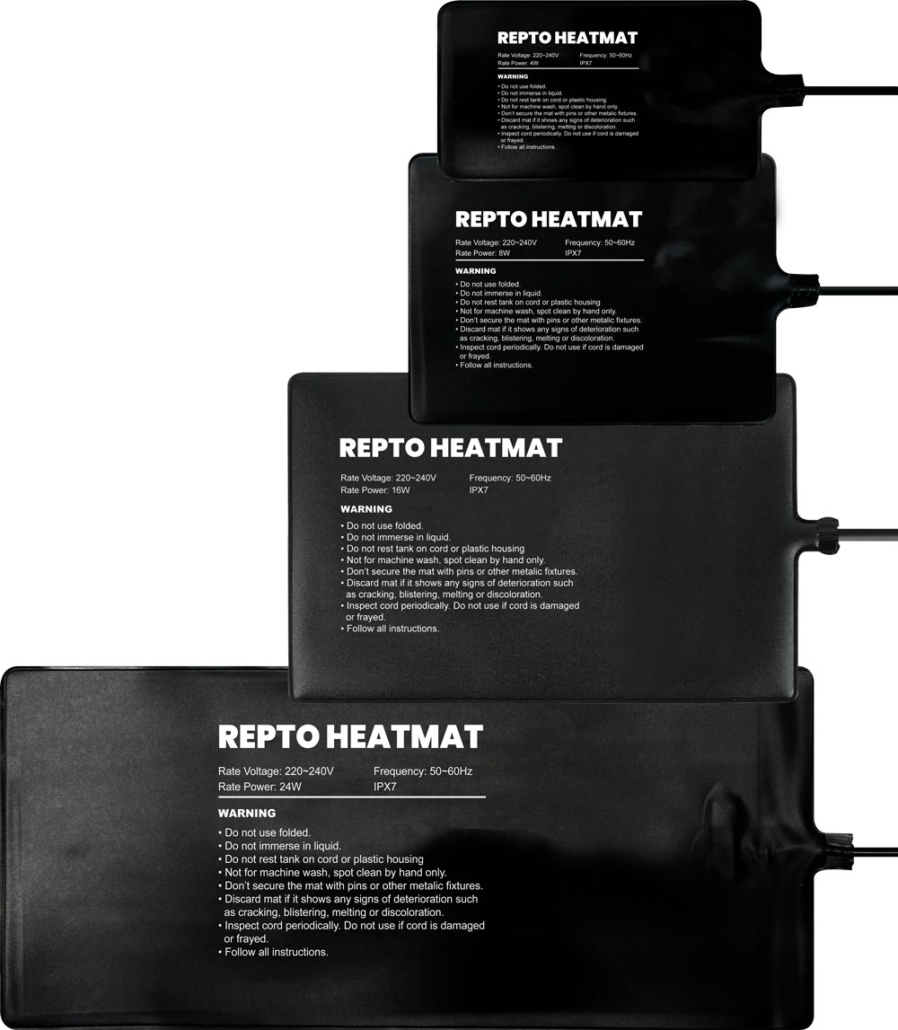
Heatmat with thermostat 4W, 8W, 16W, 24W
User manual
REPTO HEATMAT WITH THERMOSTAT 4 Watt
Size: 18 x 10 cm

REPTO HEATMAT WITH THERMOSTAT 4 Watt
Size: 18 x 10 cm
REPTO HEATMAT WITH THERMOSTAT 8 Watt
Size: 20 x 15 cm
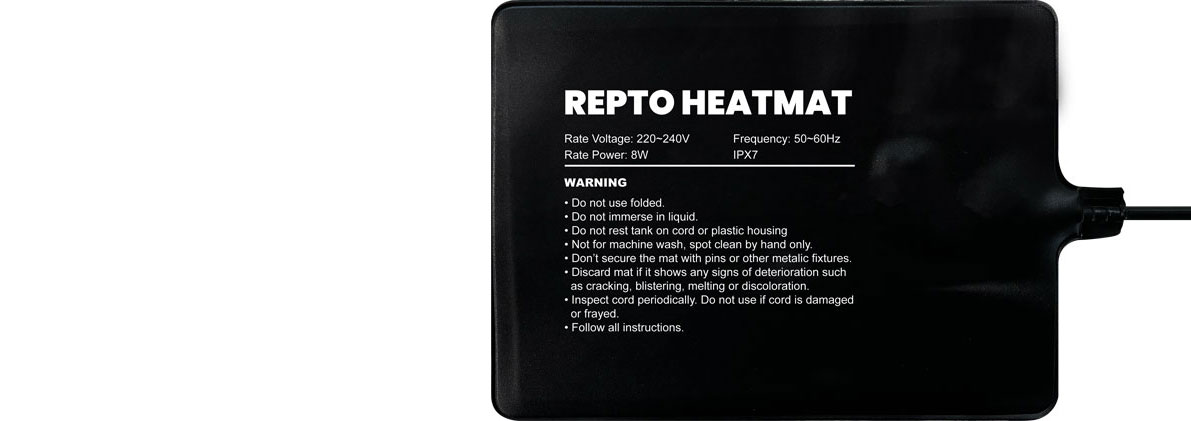
REPTO HEATMAT WITH THERMOSTAT 8 Watt
Size: 20 x 15 cm
REPTO HEATMAT WITH THERMOSTAT 16 Watt
Size: 30 x 20 cm
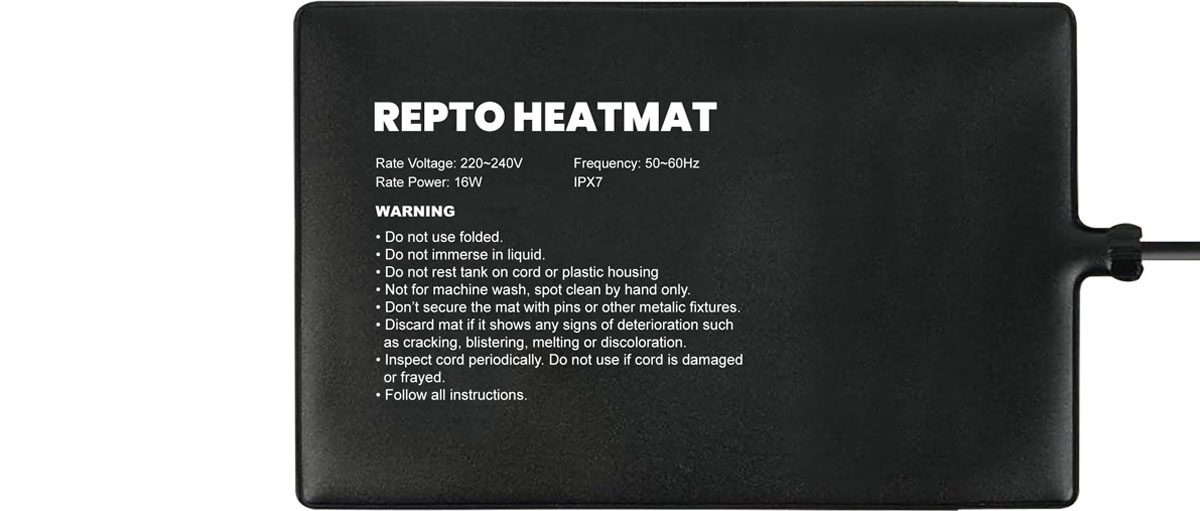
REPTO HEATMAT WITH THERMOSTAT 16 Watt
Size: 30 x 20 cm
REPTO HEATMAT WITH THERMOSTAT 24 Watt
Size: 45 x 20 cm
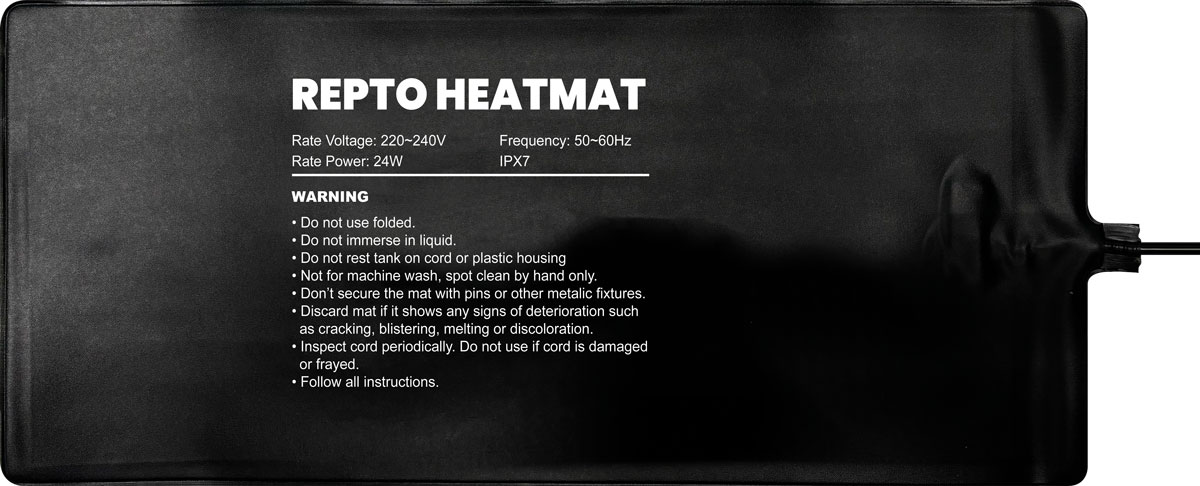
REPTO HEATMAT WITH THERMOSTAT 24 Watt
Size: 45 x 20 cm
- PVC Material
- Insulating barrier
- Heating wire
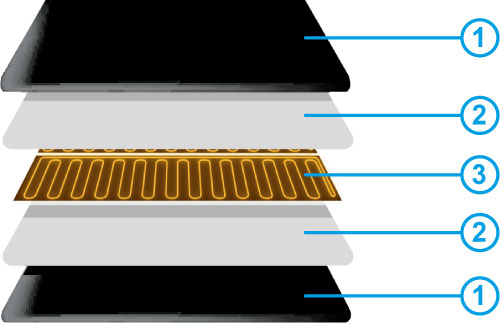
- PVC Material
- Insulating barrier
- Heating wire
Function
The Repto heating pads provide even heat and heat up quickly. The temperature can be adjusted using the thermostat.
Installation
First clean the surface of the tank. Stick one side of the double-sided adhesive onto the heating pad, then peel off the film on the other side. Attach it to any side (stick step by step from the right or left side of the heating pad, and press in the sticking direction to remove all air and ensure a firm bond). The glass thickness of the tank must be greater than 3 mm. If placed on the bottom, it is recommended to raise the tank on four feet to create more space (at least 10 mm).
Controller
- Display
- Pilot lamp
- Increase
- Decrease
- Set key
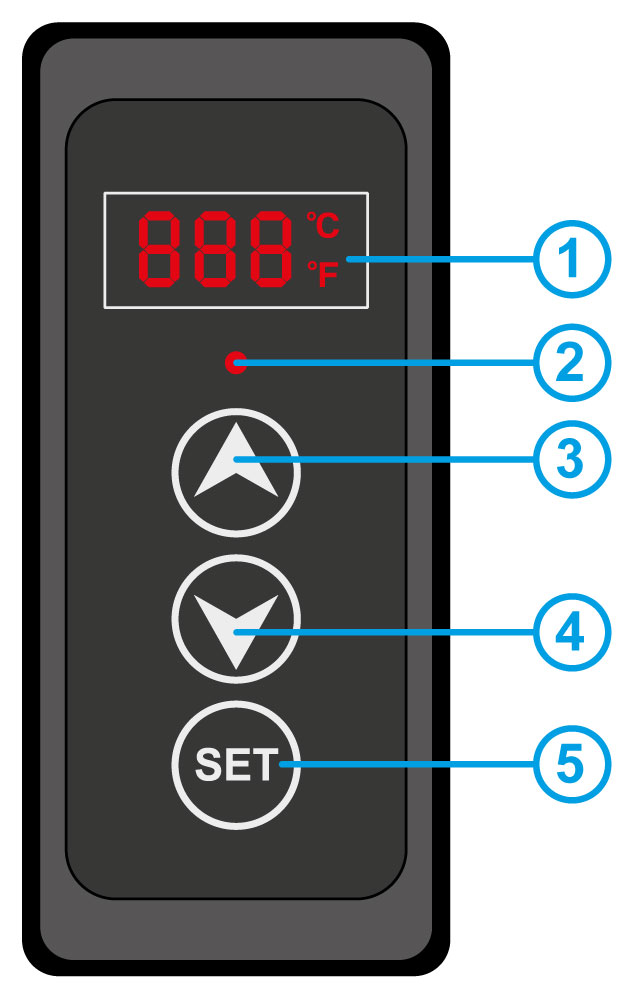
Controller
- Display
- Pilot lamp
- Increase
- Decrease
- Set key
1. Power ON /OFF
Plug it into the power outlet.
Power On: Press and hold the SET key for 3 seconds.
Power Off: Press and hold the SET key for 3 seconds; the digital display will show “OF”.
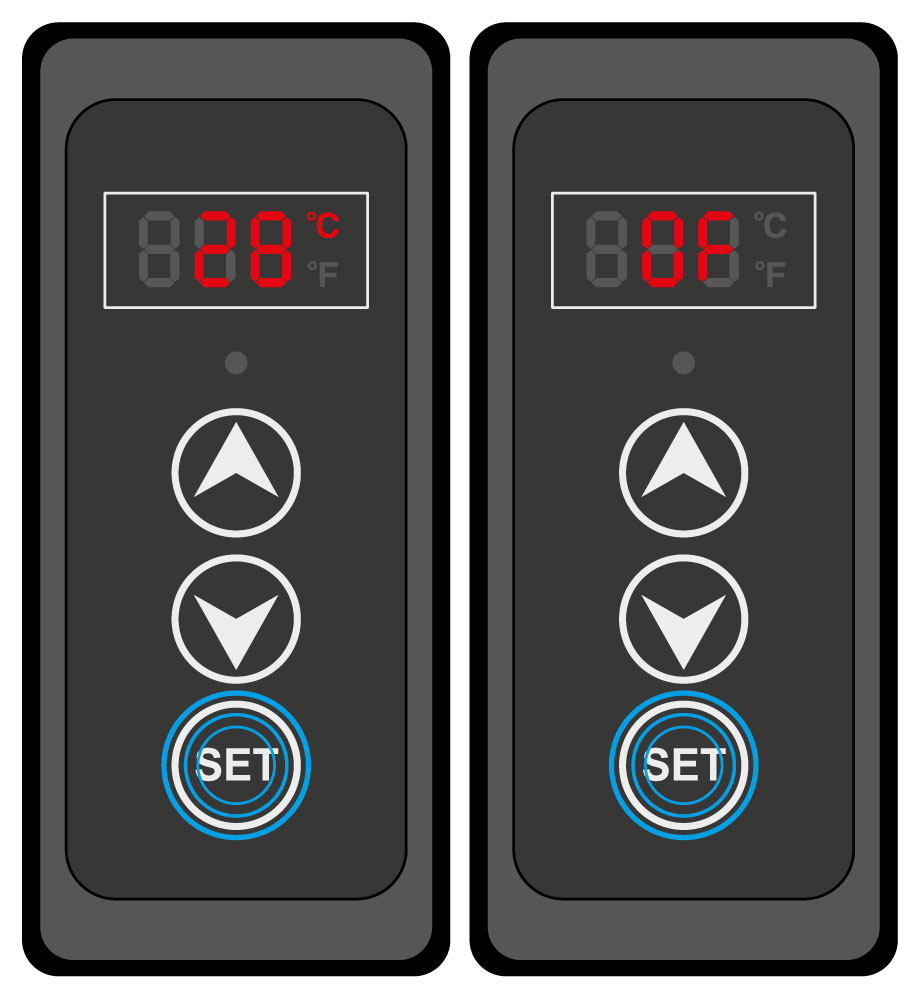
1. Power ON /OFF
Plug it into the power outlet.
Power On: Press and hold the SET key for 3 seconds.
Power Off: Press and hold the SET key for 3 seconds; the digital display will show “OF”.
2. Celcius and Fahrenheit
Press both the ▲ and ▼ keys simultaneously to switch between Celsius (°C) and Fahrenheit (°F).
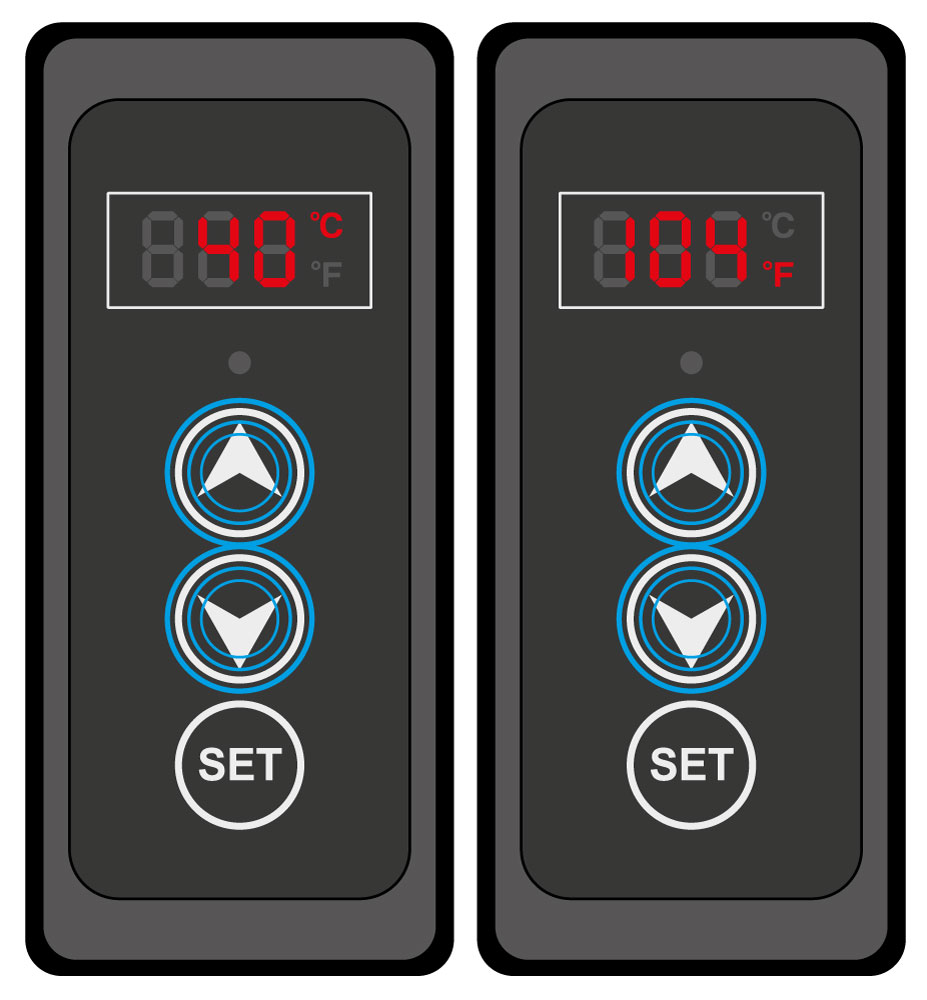
2. Celcius and Fahrenheit
Press both the ▲ and ▼ keys simultaneously to switch between Celsius (°C) and Fahrenheit (°F).
Note!
The default factory-set temperature is 35°C. Users may adjust it to their desired value.
The system has a memory function and will automatically save the current temperature setting after adjustment.
3. Temperature setting
Press the ▲ key and the SET key simultaneously to enter temperature setup. The last digit of the temperature value will flash, indicating setup mode.
Use the ▲/▼ keys to adjust the temperature.
Press SET again to exit setup mode, or wait 8 seconds for automatic exit.
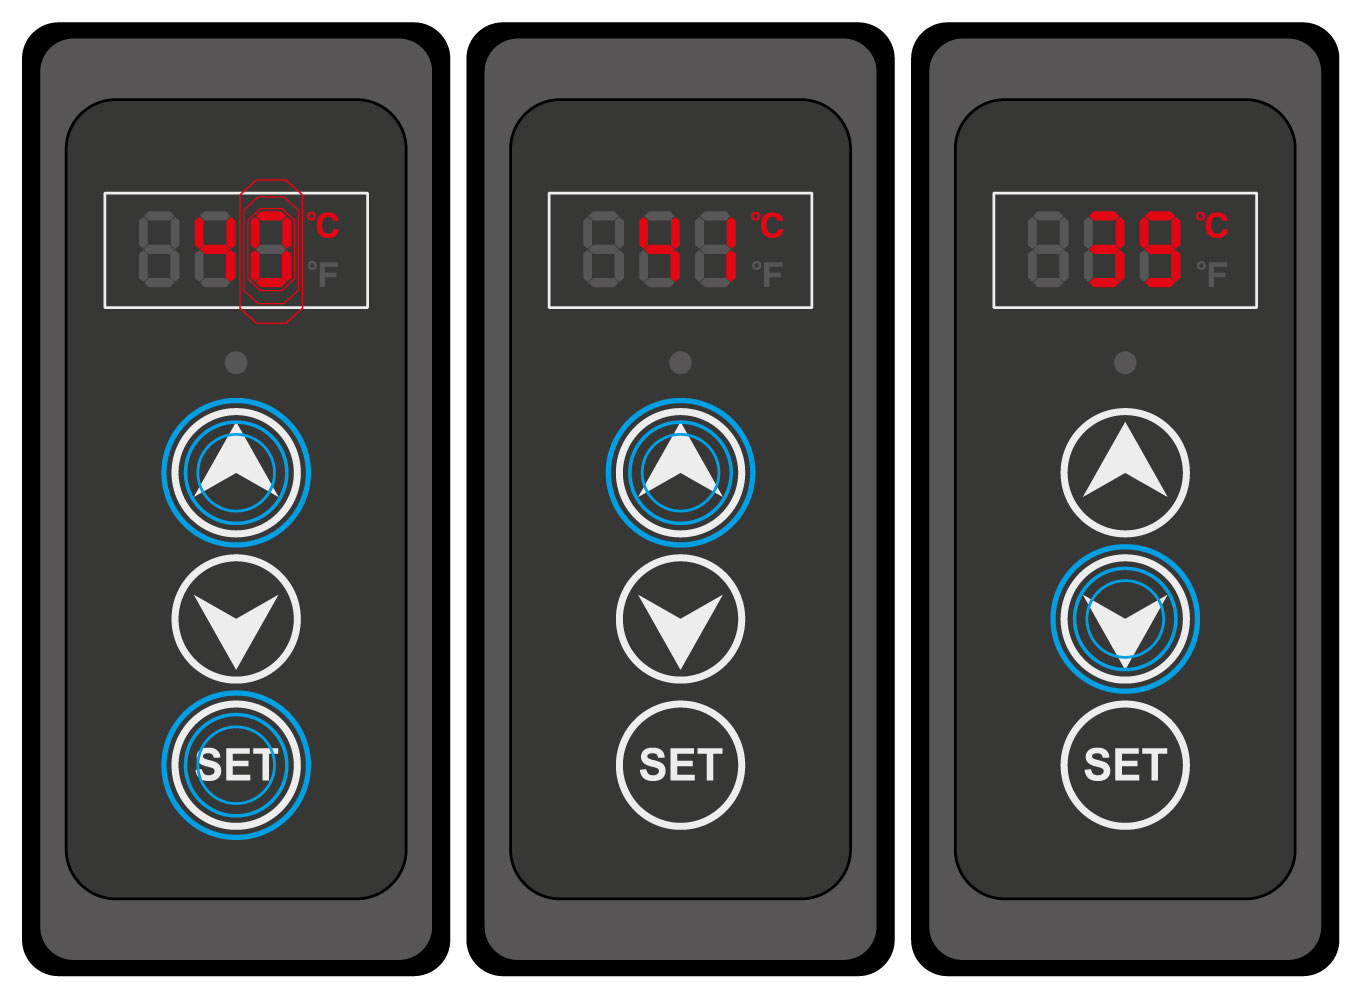
3. Temperature setting
Press the ▲ key and the SET key simultaneously to enter temperature setup. The last digit of the temperature value will flash, indicating setup mode.
Use the ▲/▼ keys to adjust the temperature.
Press SET again to exit setup mode, or wait 8 seconds for automatic exit.
4. Timer setting
Press the ▼ key and the SET key simultaneously to enter timer setup. The display will show the default duration is “OH“.
Use the ▲/▼ keys to cycle though the timer durations:
- 2H (two hours)
- 4H (four hours)
- 8H (eight hours)
- 12H (twelve hours)
Press the ▼ key to go back down to 0H (continuous heating). Press SET again to exit setup mode, or wait 8 seconds for automatic exit.
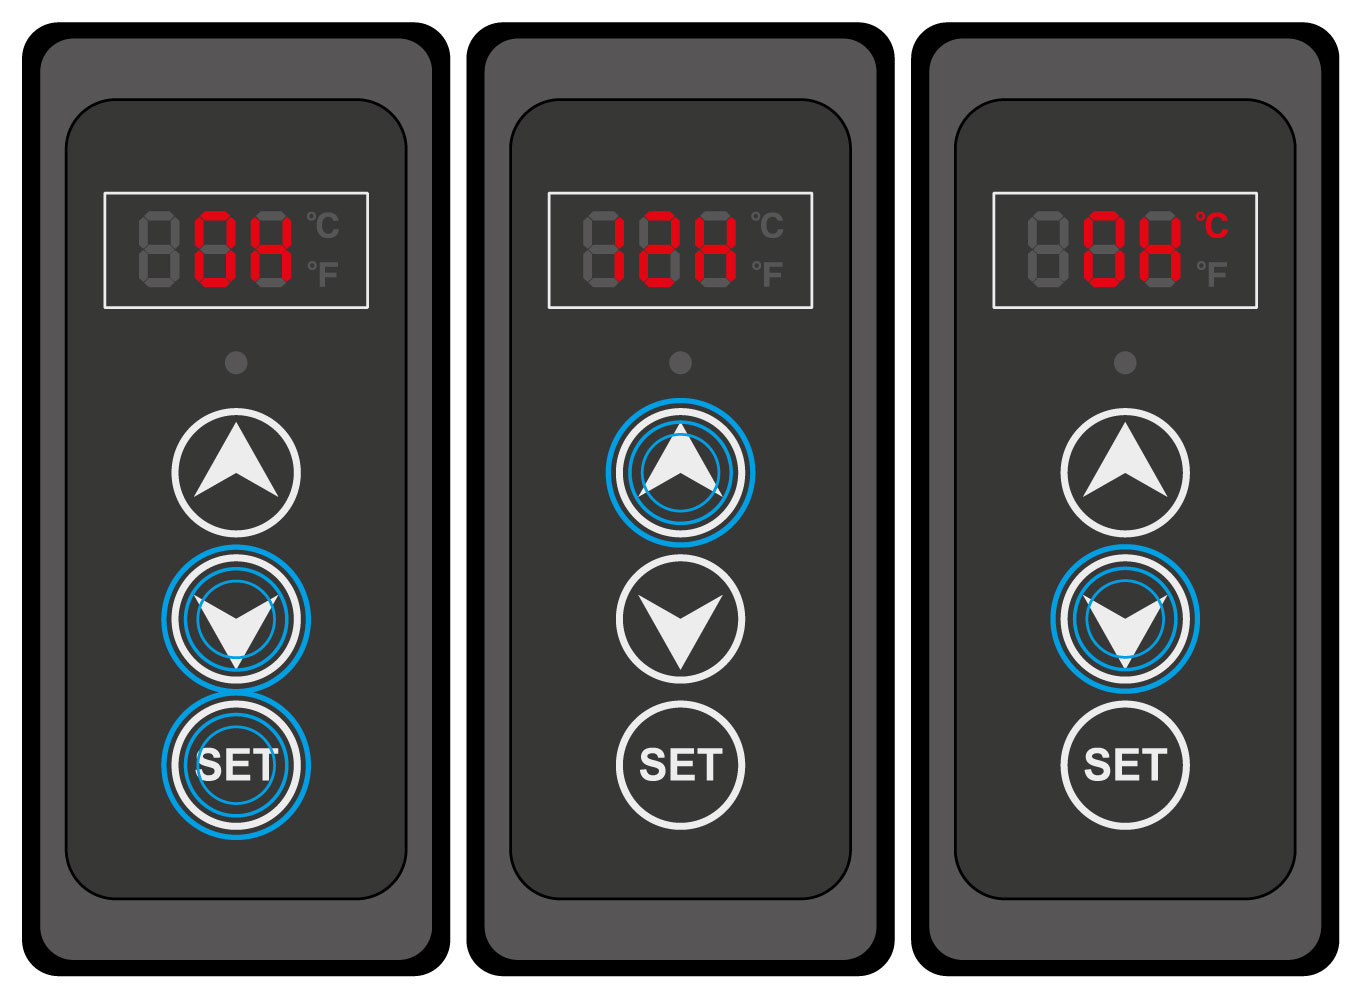
4. Timer setting
Press the ▼ key and the SET key simultaneously to enter timer setup. The display will show the default duration is “OH“.
Use the ▲/▼ keys to cycle though the timer durations:
- 2H (two hours)
- 4H (four hours)
- 8H (eight hours)
- 12H (twelve hours)
Press the ▼ key to go back down to 0H (continuous heating). Press SET again to exit setup mode, or wait 8 seconds for automatic exit.
5. Timer Loop function
When the countdown timer reaches zero, heating stops and the display shows “–”.
As long as the unit remains connected to the power supply and the main power switch is not turned off, heating will automatically start again the next day. The same heating duration and shut-off time will be repeated every 24 hours. You do not need to reset the temperature or timer settings.
If you switch off the thermostat manually by pressing and holding the SET button, the timer will be cleared. The operating duration must then be set again the next time the thermostat is switched on. If no operating duration is set, the thermostat will continue heating without a time limit.
After a power outage, or if the main power supply is switched off, the thermostat will restart automatically when power is restored. You do not need to press and hold the SET button. The thermostat will continue the timer cycle using the previously saved settings and the current operating time.
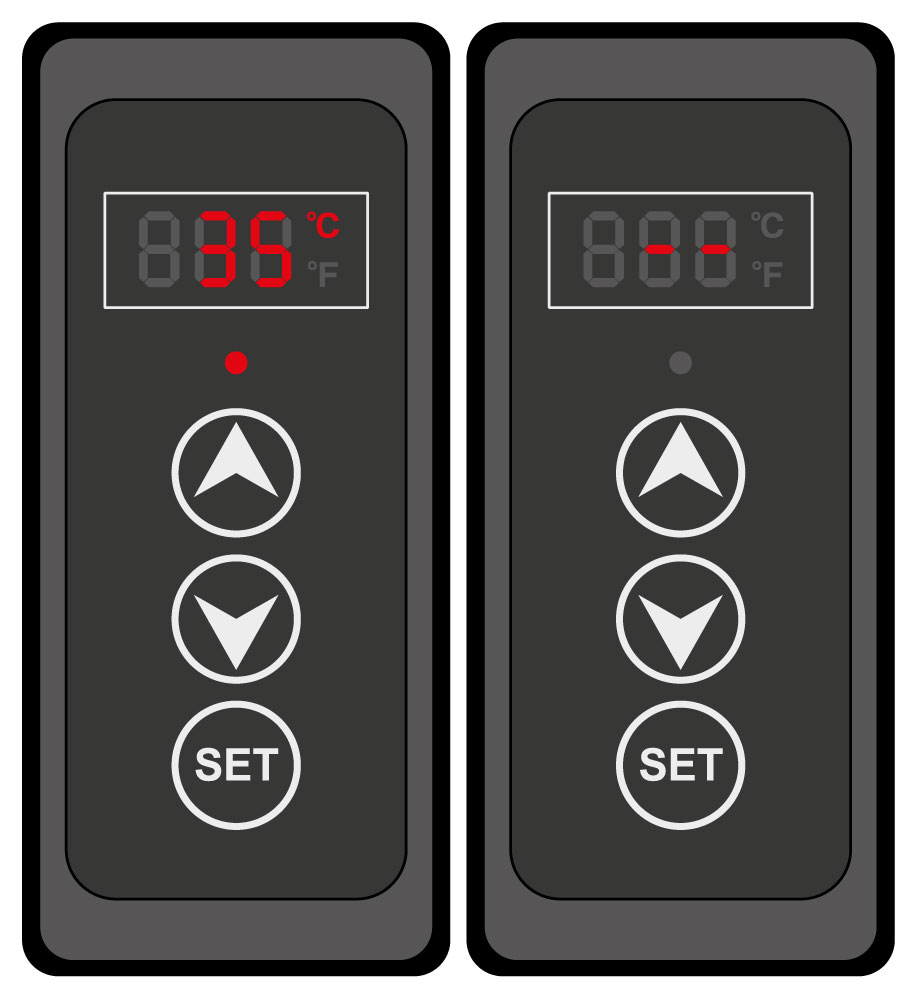
5. Timer Loop function
When the countdown timer reaches zero, heating stops and the display shows “–”.
As long as the unit remains connected to the power supply and the main power switch is not turned off, heating will automatically start again the next day. The same heating duration and shut-off time will be repeated every 24 hours. You do not need to reset the temperature or timer settings.
If you switch off the thermostat manually by pressing and holding the SET button, the timer will be cleared. The operating duration must then be set again the next time the thermostat is switched on. If no operating duration is set, the thermostat will continue heating without a time limit.
After a power outage, or if the main power supply is switched off, the thermostat will restart automatically when power is restored. You do not need to press and hold the SET button. The thermostat will continue the timer cycle using the previously saved settings and the current operating time.
Temperature display warning
The display shows “LL” for temperatures below 0°C and “HH” for temperatures above 60°C.
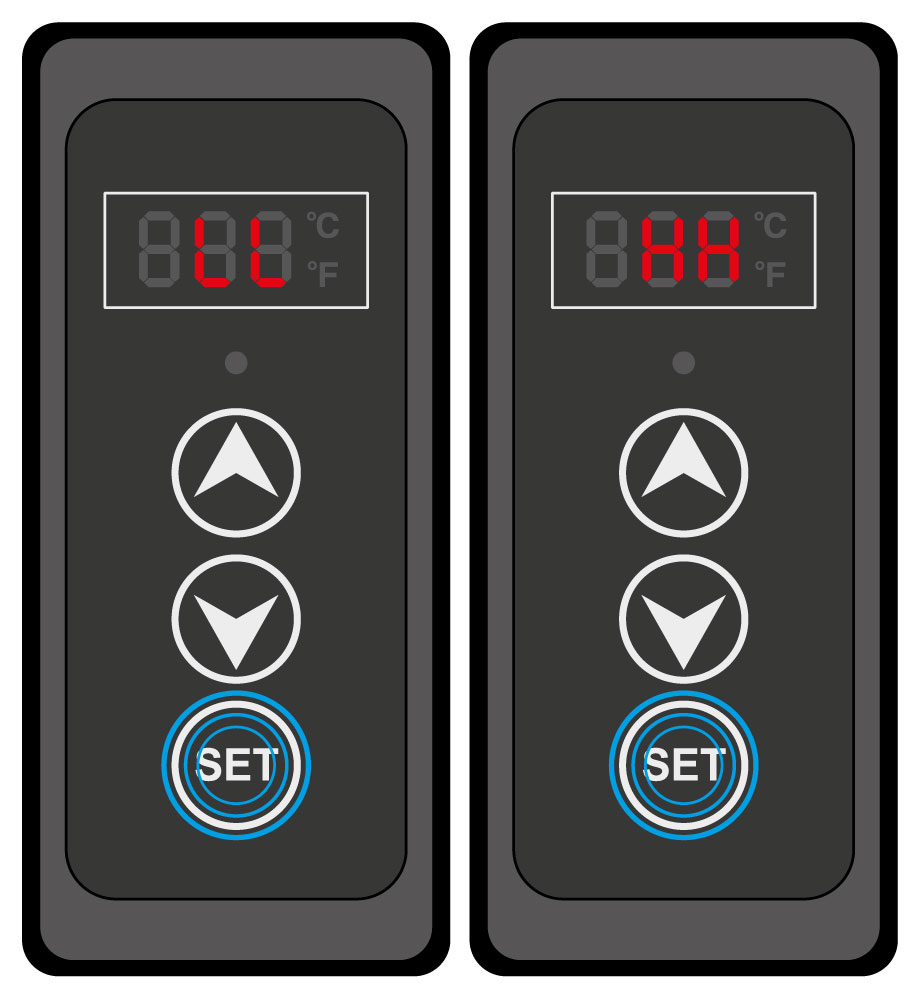
Temperature display warning
The display shows “LL” for temperatures below 0°C and “HH” for temperatures above 60°C.