


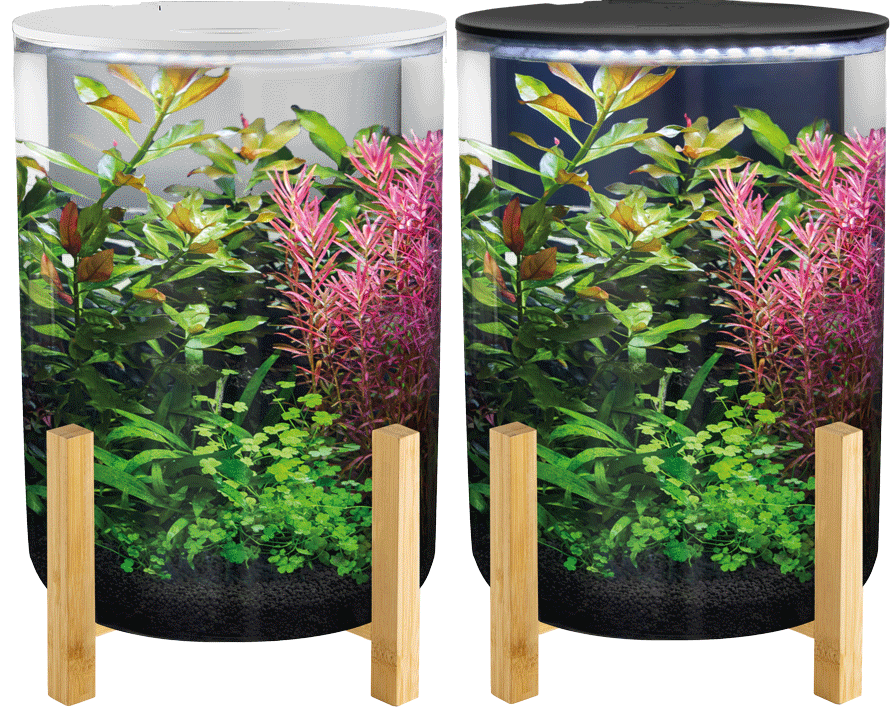
SuperFish Orbiq 11
User manual
Setting up your aquarium:
Choose an appropriate location for the aquarium. The location should be relatively dark, for example in the corner of a room. The aquarium should not be exposed to direct sunlight. Too much light will lead to unwanted algae and may harm the fish and plants in the aquarium as a result of overheating.
Step 1
Assemble the two-piece bamboo aquarium stand. No tools are required.

Step 1
Assemble the two-piece bamboo aquarium stand. No tools are required.
Step 2
Place the aquarium in the bamboo stand. Thoroughly clean the aquarium and all accessories with clean tap water, then rinse well. Never use cleaning agents or alcohol, and always use a perfectly clean bucket. Position it on a smooth, level surface with sufficient load-bearing capacity. Do not place the aquarium on electrical appliances or on furniture with surfaces that may be damaged or stained by water.
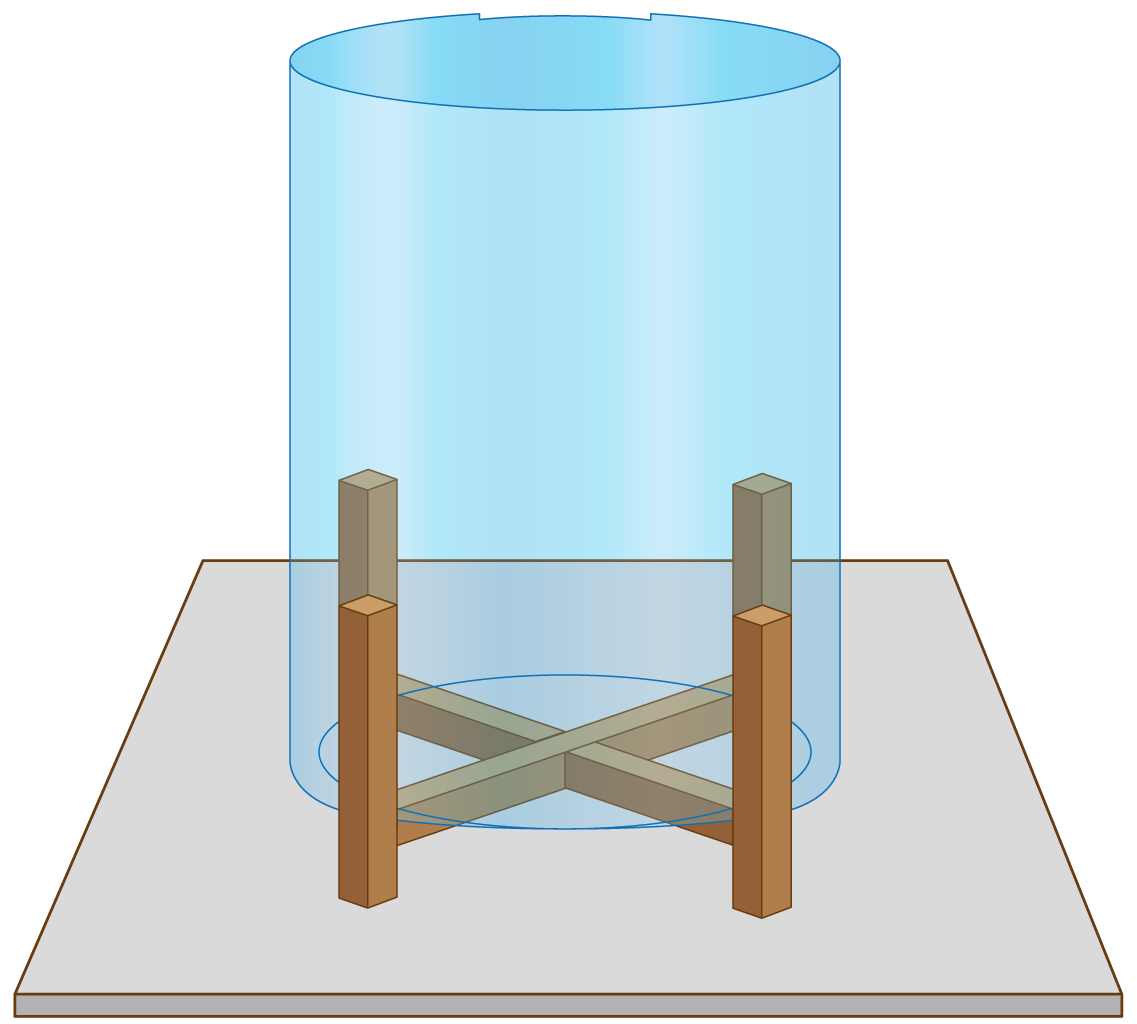
Step 2
Place the aquarium in the bamboo stand. Thoroughly clean the aquarium and all accessories with clean tap water, then rinse well. Never use cleaning agents or alcohol, and always use a perfectly clean bucket. Position it on a smooth, level surface with sufficient load-bearing capacity. Do not place the aquarium on electrical appliances or on furniture with surfaces that may be damaged or stained by water.
Step 3
Place the filter housing into the designated recess inside the aquarium rim. Ensure that it is seated securely in the correct position.
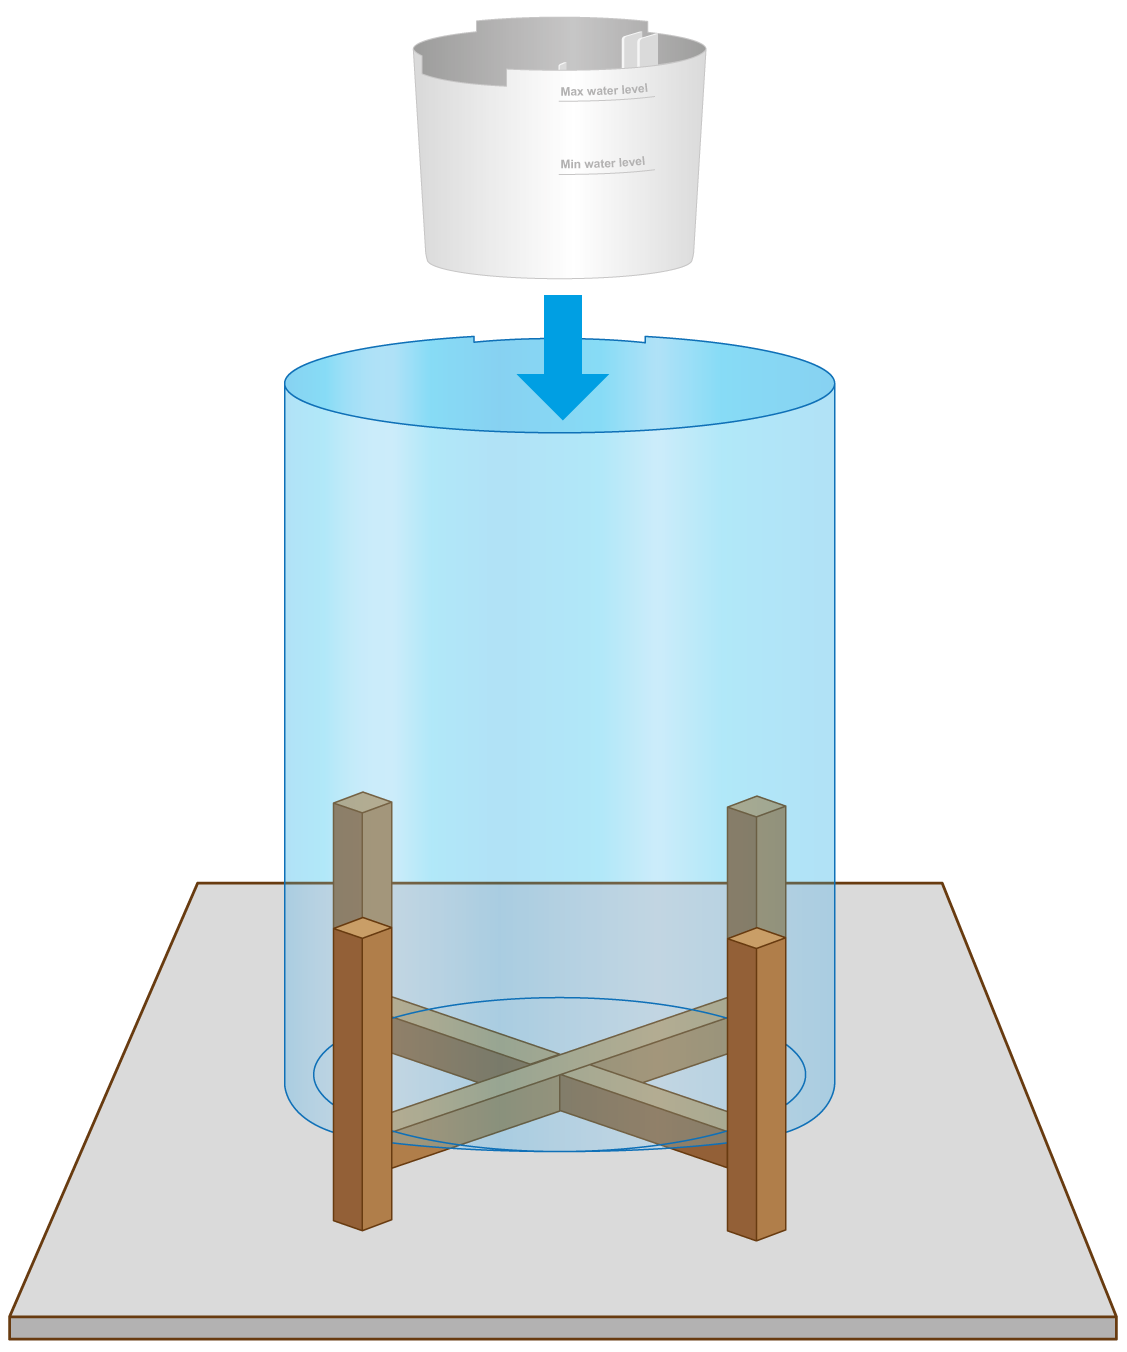
Step 3
Place the filter housing into the designated recess inside the aquarium rim. Ensure that it is seated securely in the correct position.
Step 4
Attach the pump to the filter media basket. Make sure the power cable is routed through the designated notch in the filter media basket.
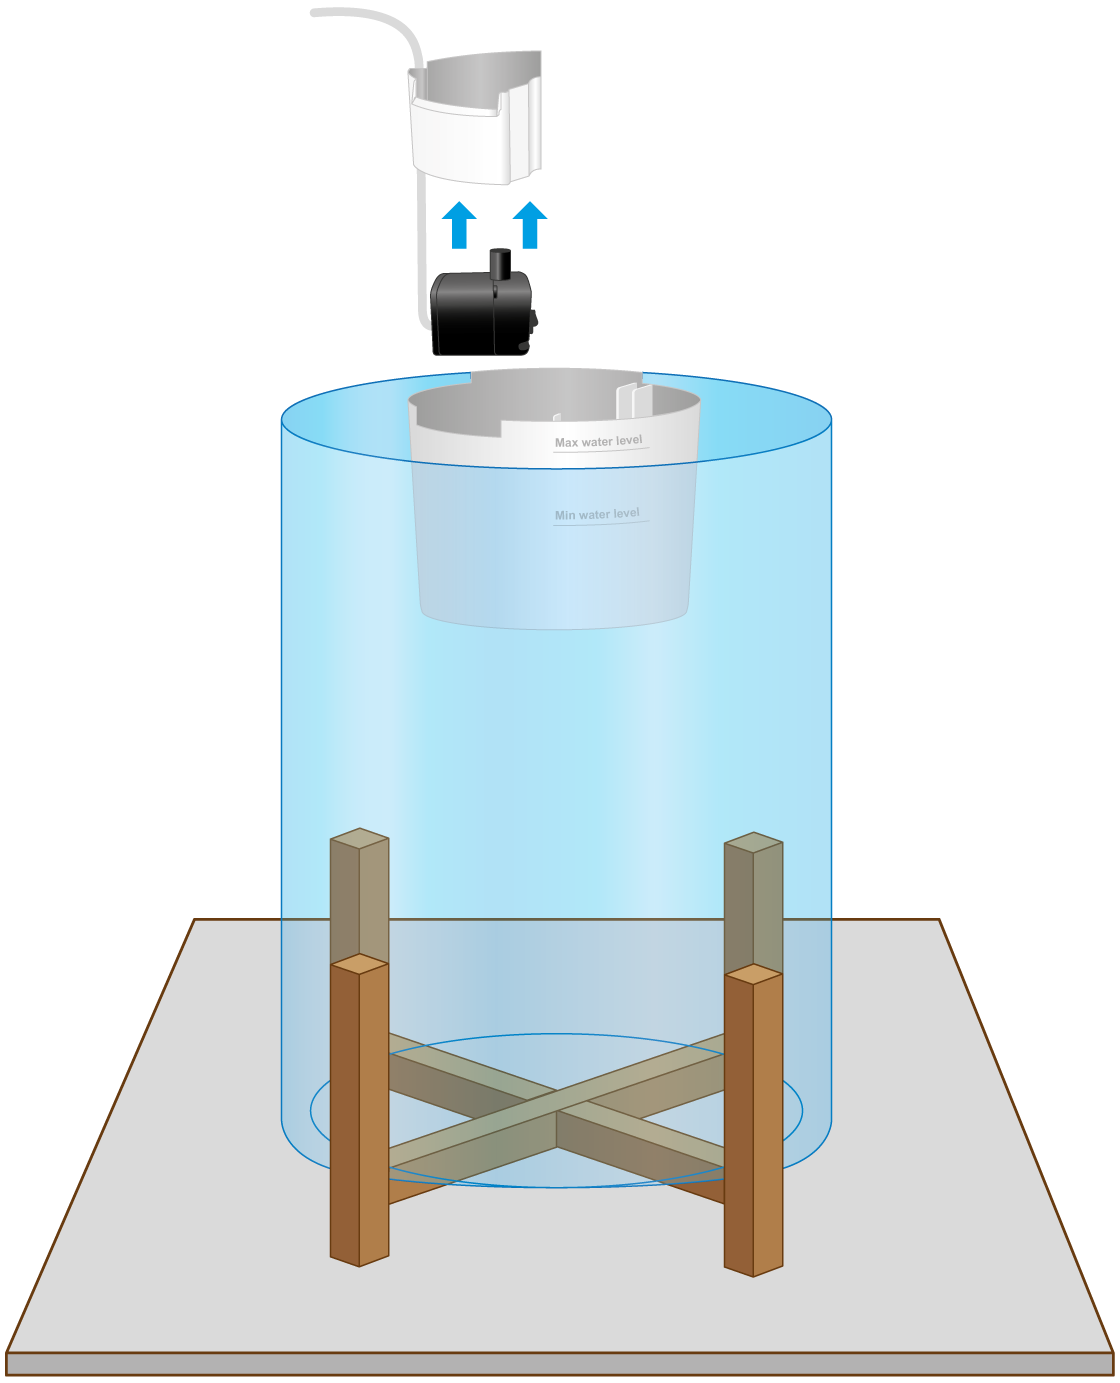
Step 4
Attach the pump to the filter media basket. Make sure the power cable is routed through the designated notch in the filter media basket.
Step 5
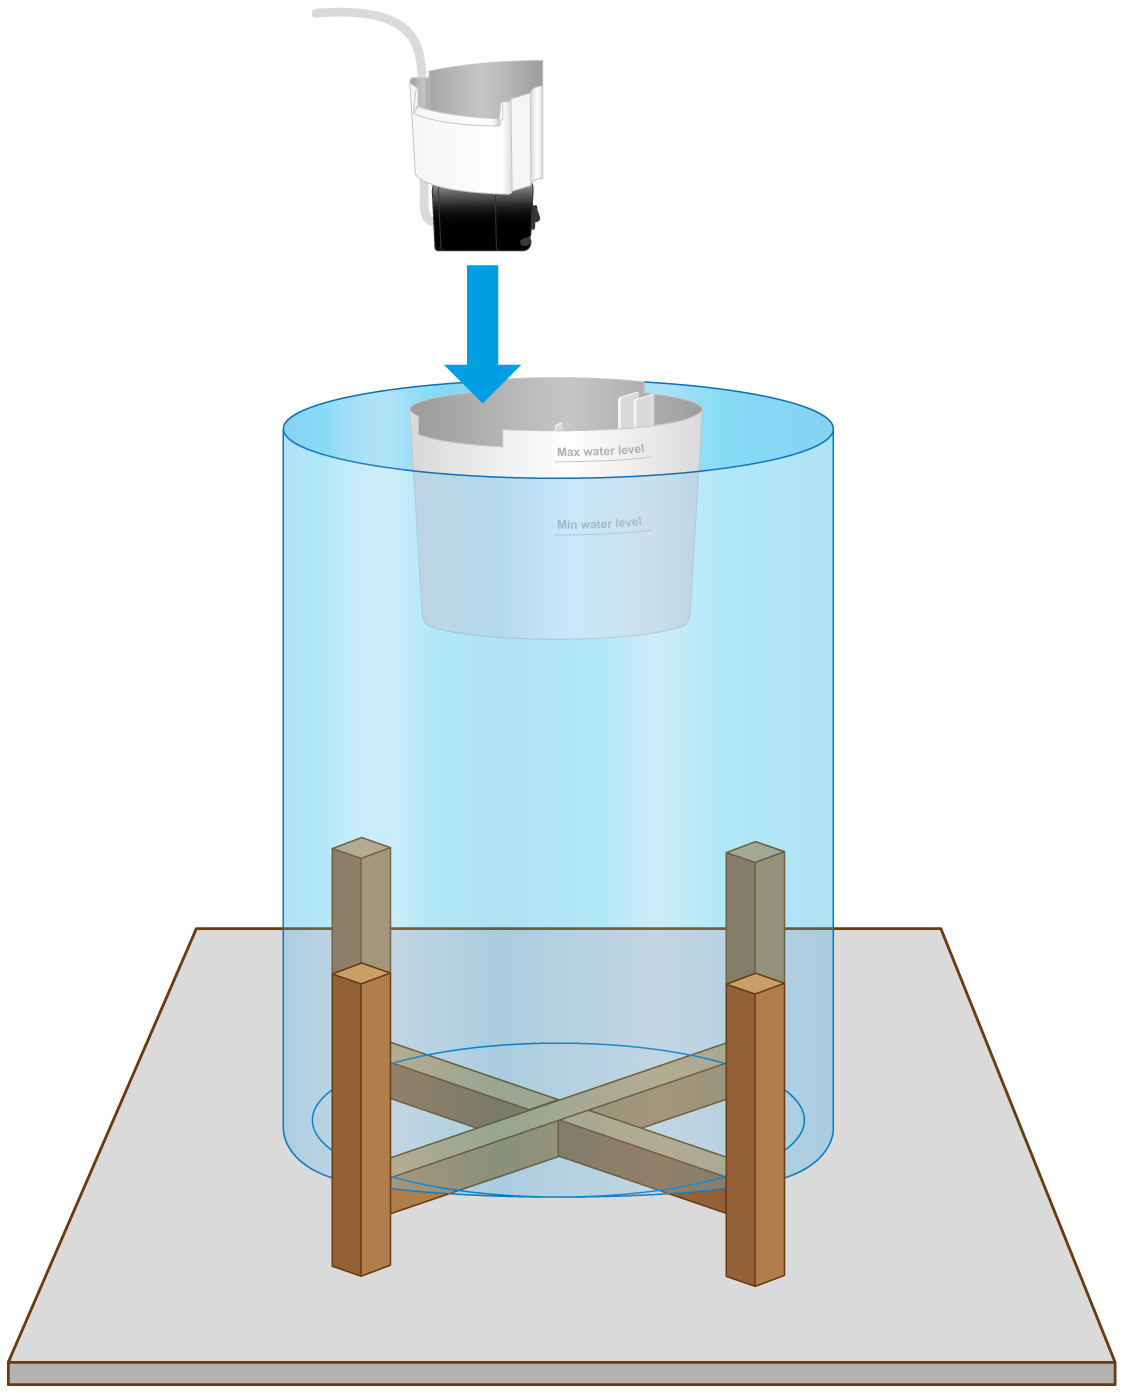
Place the pump and filter media basket into the filter housing as shown in the illustration. Ensure that both components are fully seated in the correct position.
Step 5
Place the pump and filter media basket into the filter housing as shown in the illustration. Ensure that both components are fully seated in the correct position.
Step 6
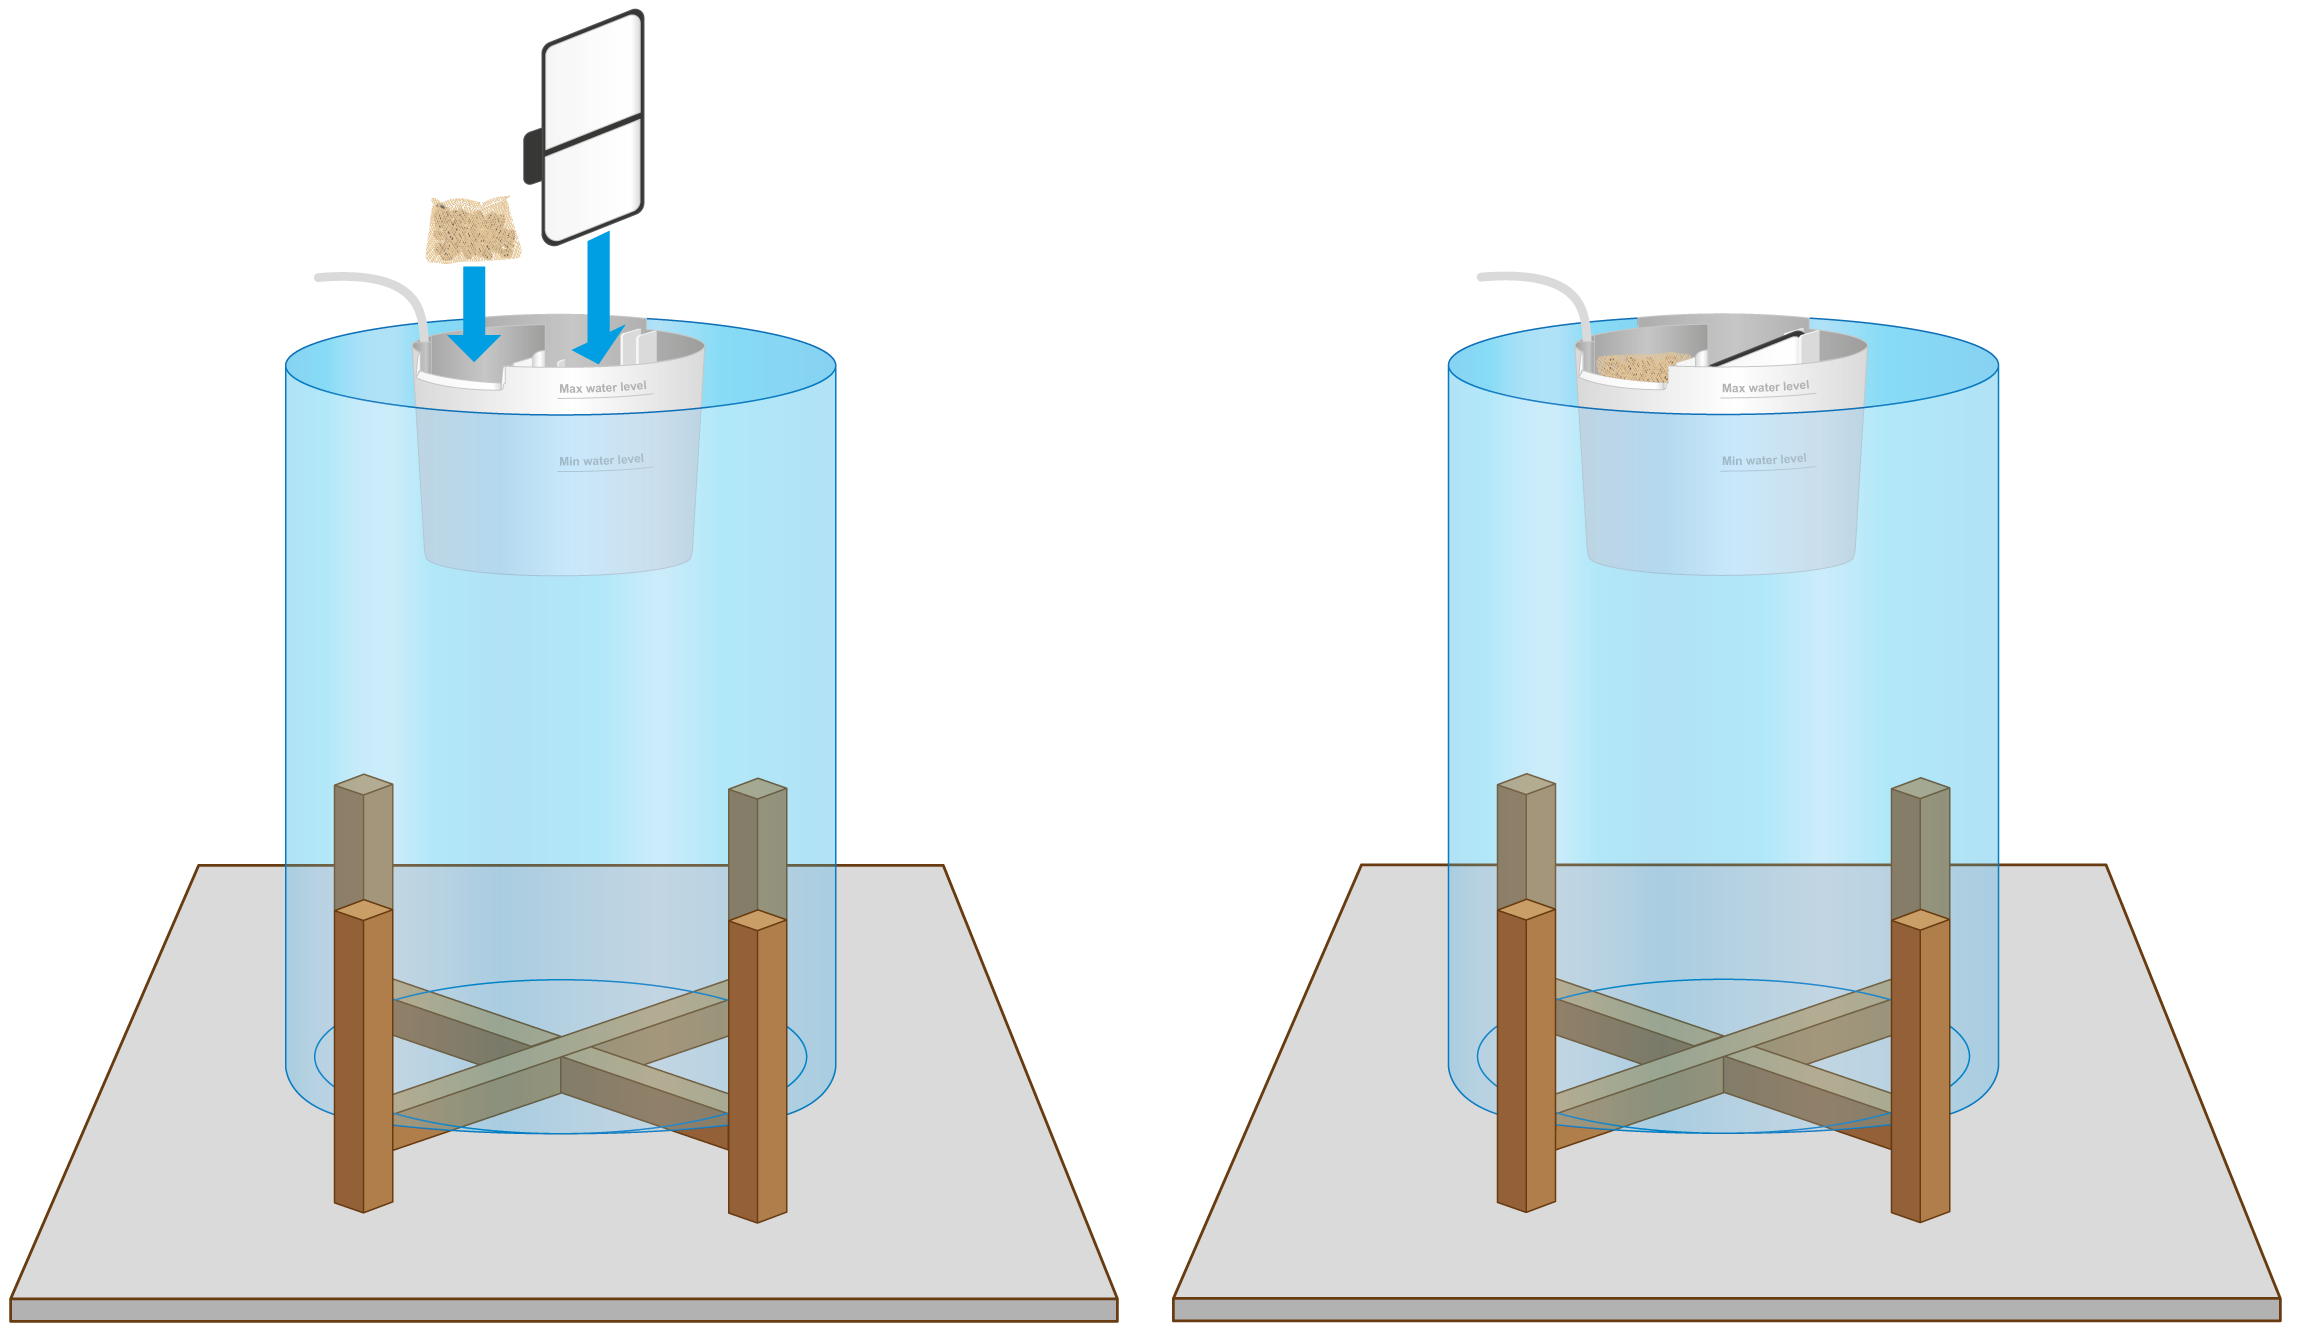
Place the bag of filter media into the filter media basket above the pump. Then insert the filter cartridge into the designated slot, as shown in the illustration. Your aquarium filter helps to keep the water healthy, therefore you need to clean it weekly. Take out the cartridge and rinse it with fresh tap water, the cartridge contains active filter carbon that absorbs harmful substances from the water, therefore you need to replace the cartridge monthly.
Step 6
Place the bag of filter media into the filter media basket above the pump. Then insert the filter cartridge into the designated slot, as shown in the illustration. Your aquarium filter helps to keep the water healthy, therefore you need to clean it weekly. Take out the cartridge and rinse it with fresh tap water, the cartridge contains active filter carbon that absorbs harmful substances from the water, therefore you need to replace the cartridge monthly.
Replacement filter cartridges
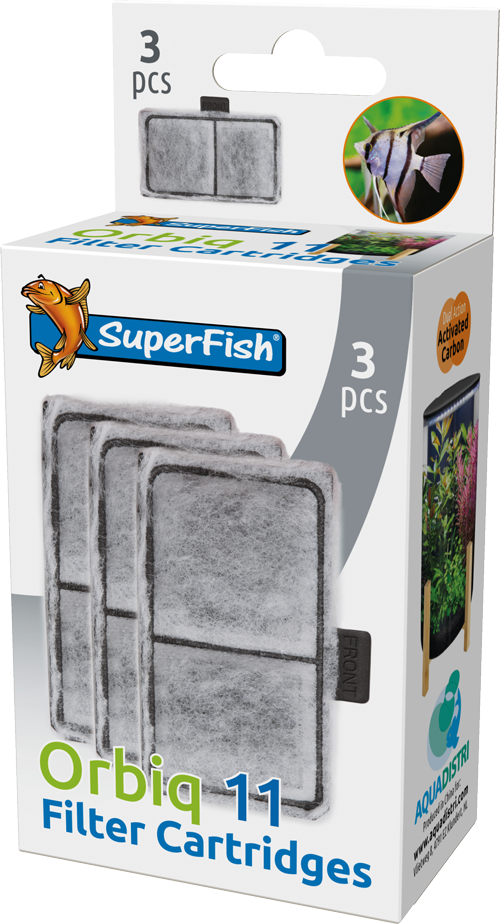
Original Orbiq 11 replacement filter cartridges are available separately (Art. no. A4052460).
Replacement filter cartridges
Original Orbiq 11 replacement filter cartridges are available separately (Art. no. A4052460).
Step 7
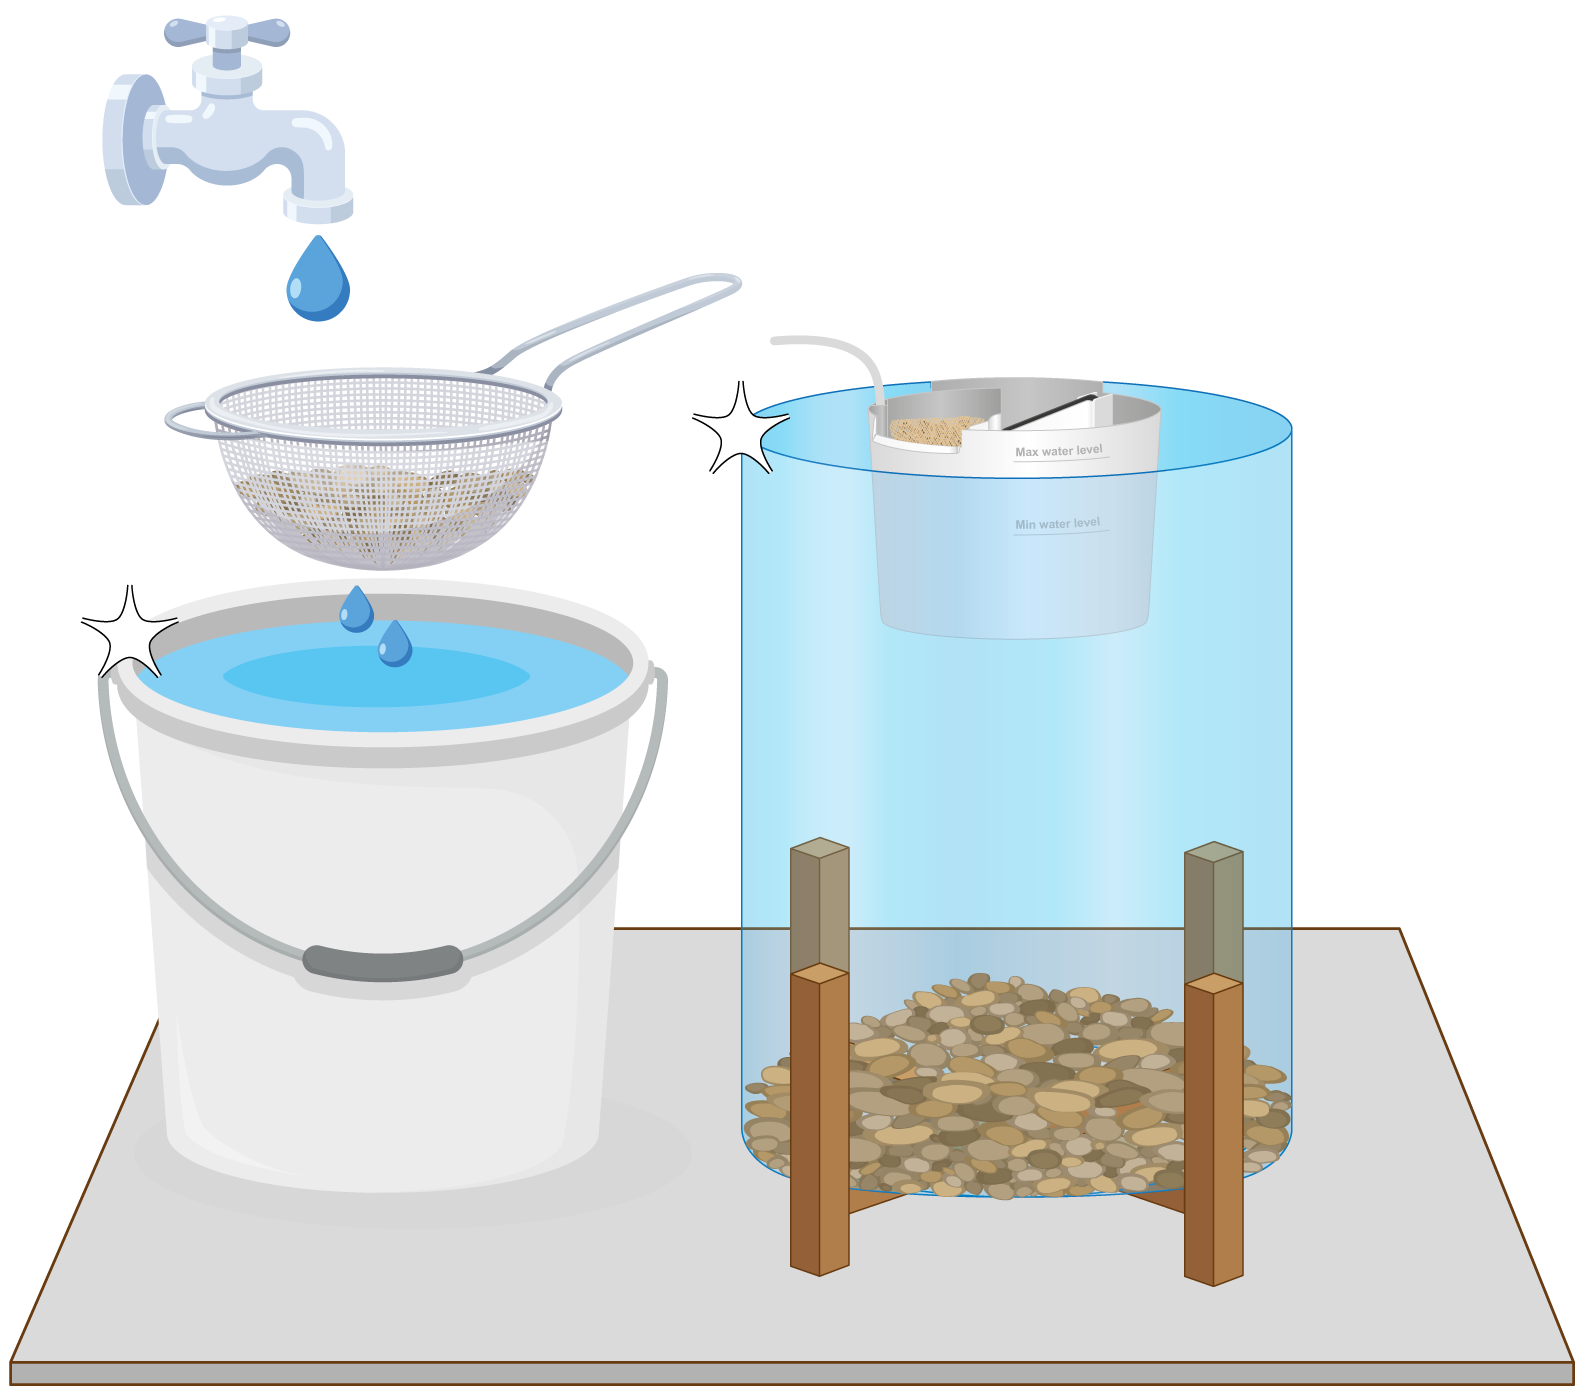
Cover the bottom with clean aquarium gravel of your choice. For planted aquariums, first add a nutrient-rich substrate and then cover it with aquarium gravel.
Step 7
Cover the bottom with clean aquarium gravel of your choice. For planted aquariums, first add a nutrient-rich substrate and then cover it with aquarium gravel.
Step 8
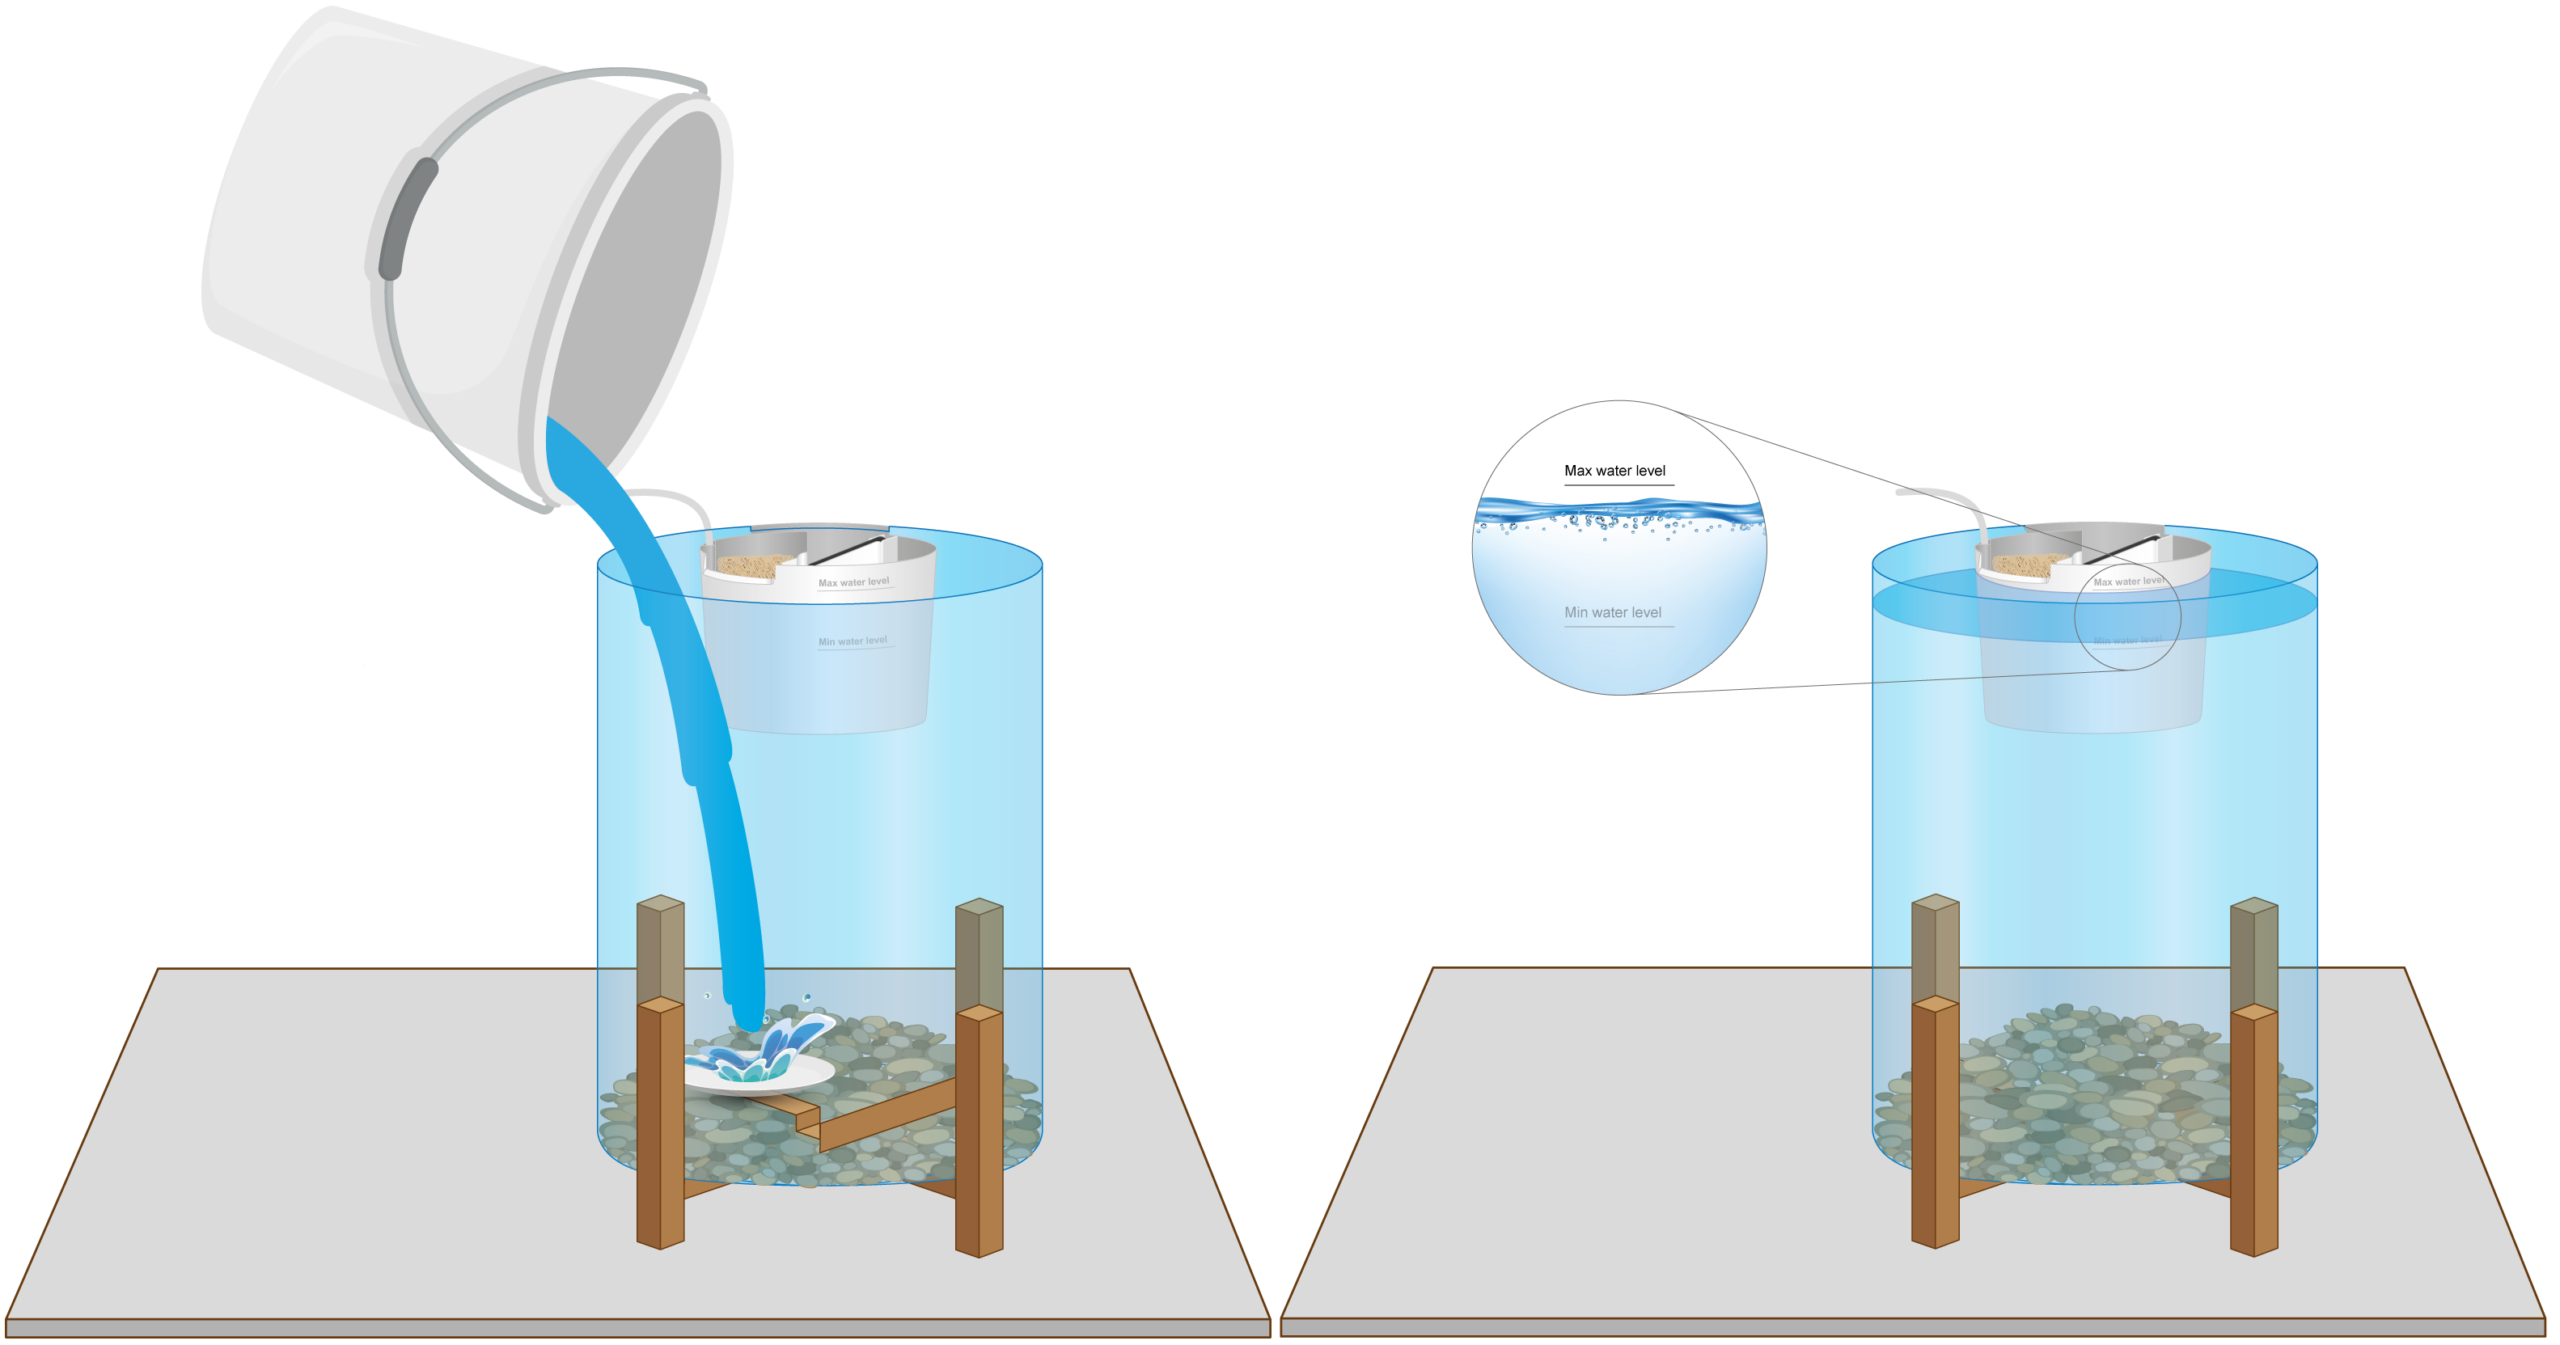
Slowly fill the aquarium with clean tap water at approximately 20°C. Place a plate or piece of glass beneath the water stream to prevent the gravel or nutrient substrate from being disturbed. Fill the aquarium halfway, add the plants, and then continue filling it to the recommended water level.
Step 8
Slowly fill the aquarium with clean tap water at approximately 20°C. Place a plate or piece of glass beneath the water stream to prevent the gravel or nutrient substrate from being disturbed. Fill the aquarium halfway, add the plants, and then continue filling it to the recommended water level.
Step 9
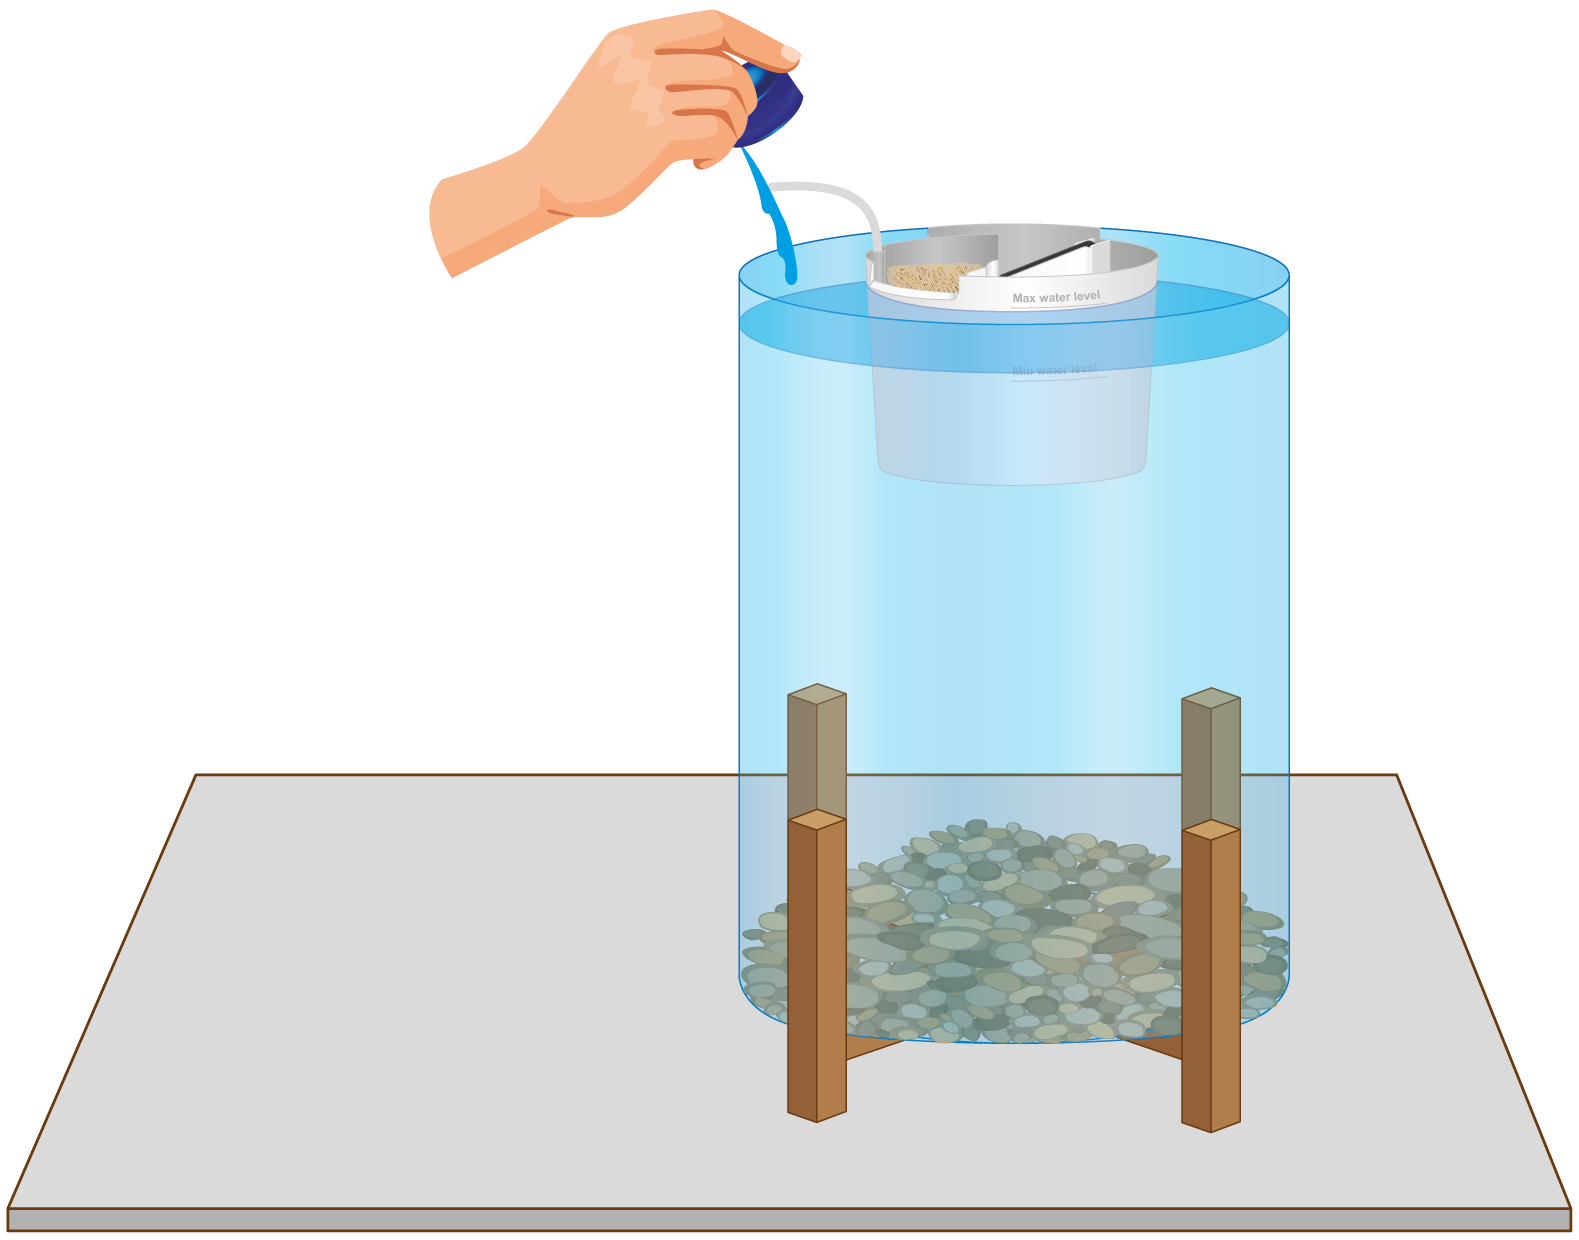
After filling the aquarium, and after every water change, add a water conditioner to neutralize harmful substances and protect your shrimp. Then add a bacterial culture to help establish the biological filter and maintain optimal water quality.
Step 9
After filling the aquarium, and after every water change, add a water conditioner to neutralize harmful substances and protect your shrimp. Then add a bacterial culture to help establish the biological filter and maintain optimal water quality.
Step 10
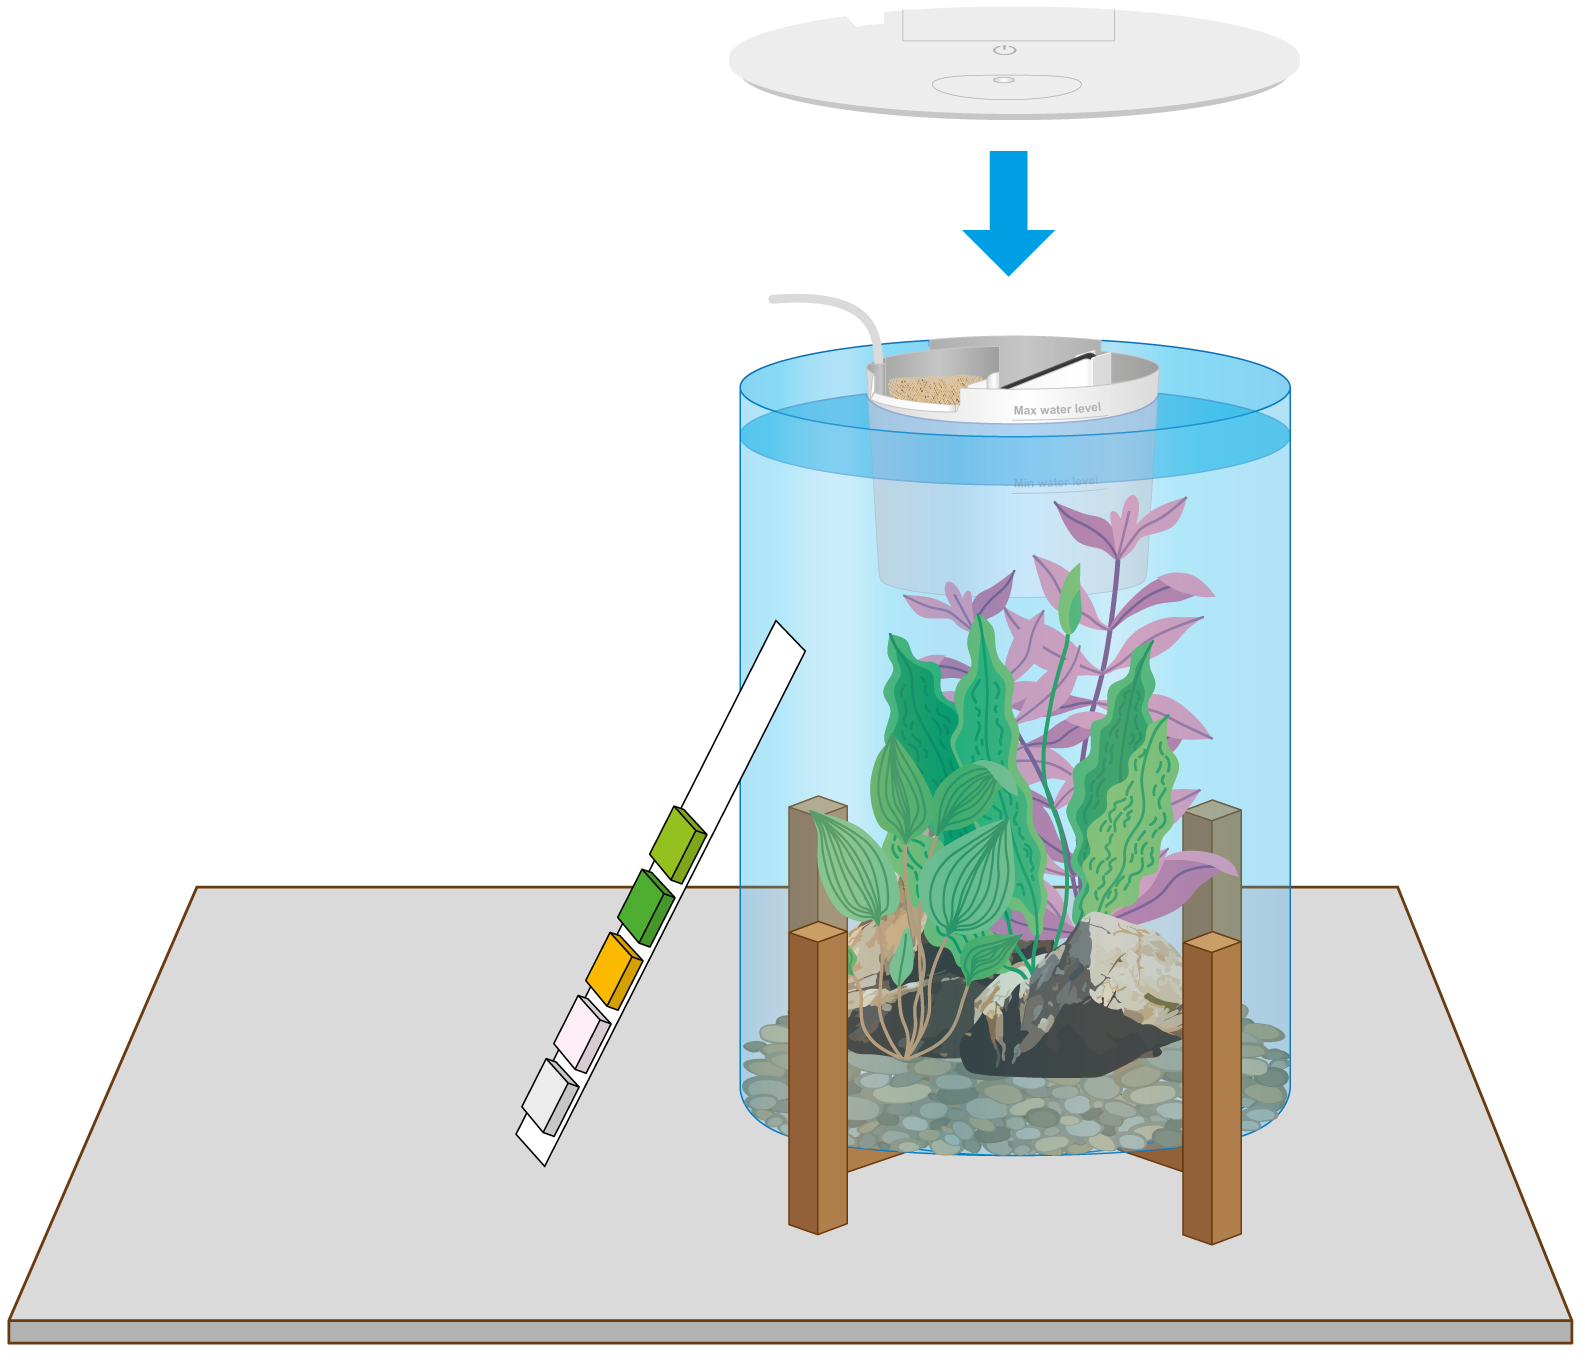
Test the aquarium water and adjust the water parameters as necessary before adding any shrimp or plants. Your aquarium dealer can also test the water for you.
After setting up the aquarium, wait at least 2 weeks before introducing shrimp. After adding shrimp, test the water every two days for the first two weeks and correct any unsuitable water parameters. After this initial period, test the water quality once a week.
Step 10
Test the aquarium water and adjust the water parameters as necessary before adding any shrimp or plants. Your aquarium dealer can also test the water for you.
After setting up the aquarium, wait at least 2 weeks before introducing shrimp. After adding shrimp, test the water every two days for the first two weeks and correct any unsuitable water parameters. After this initial period, test the water quality once a week.
Step 11
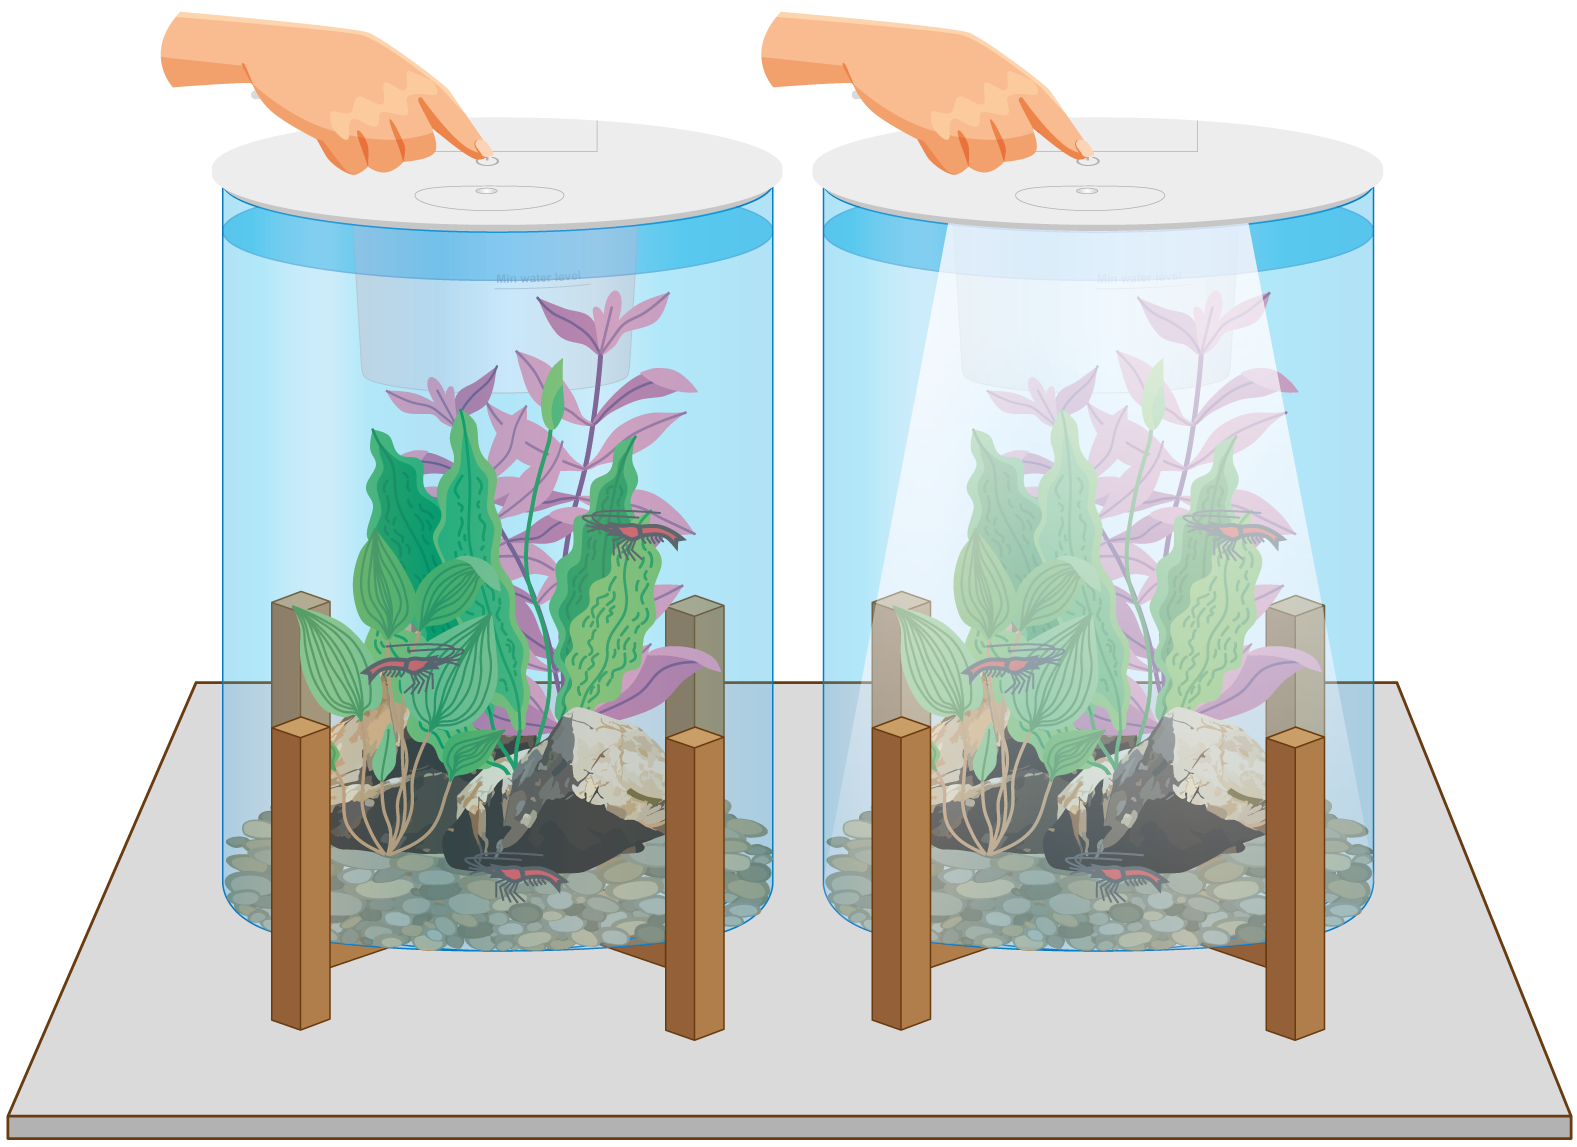
Switch the light in the lid on or off using the touch-sensitive button on top of the lid. The Orbiq is also compatible with the SuperFish LED Controller (Art. no. A4020200, sold separately).
Step 11
Switch the light in the lid on or off using the touch-sensitive button on top of the lid. The Orbiq is also compatible with the SuperFish LED Controller (Art. no. A4020200, sold separately).
Colombo Fish Care
We recommend Colombo Fish Care products to help ensure a healthy and successful aquarium.
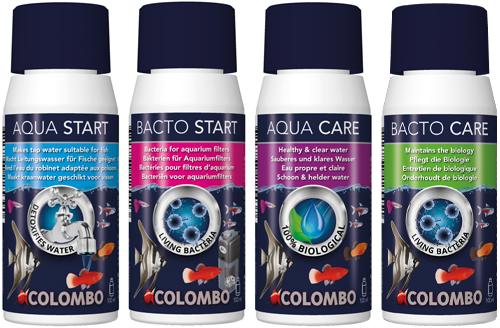
Colombo Fish Care
We recommend Colombo Fish Care products to help ensure a healthy and successful aquarium.